
Overview
Scenario
You are the Azure administrator for a medical research company. The company uses a storage account to store documents. You need to create a storage account, enable versioning for the storage account, and set up a blob lifecycle policy that does the following:
- Moves files that have not been accessed in over 180 days to cool storage
- Moves files older than 5 years to archive storage
- Deletes versions that are more than 60 days old
Lab Objectives
In this lab, you will do the following:
- Provision a Storage Account
- Create a lifecycle policy
Estimated Duration
This lab will take approximately 10 minutes to complete.
Solutions
Task 0 Solution: Log in to the Azure portal with your lab credentials
- Select a region to run your lab in.
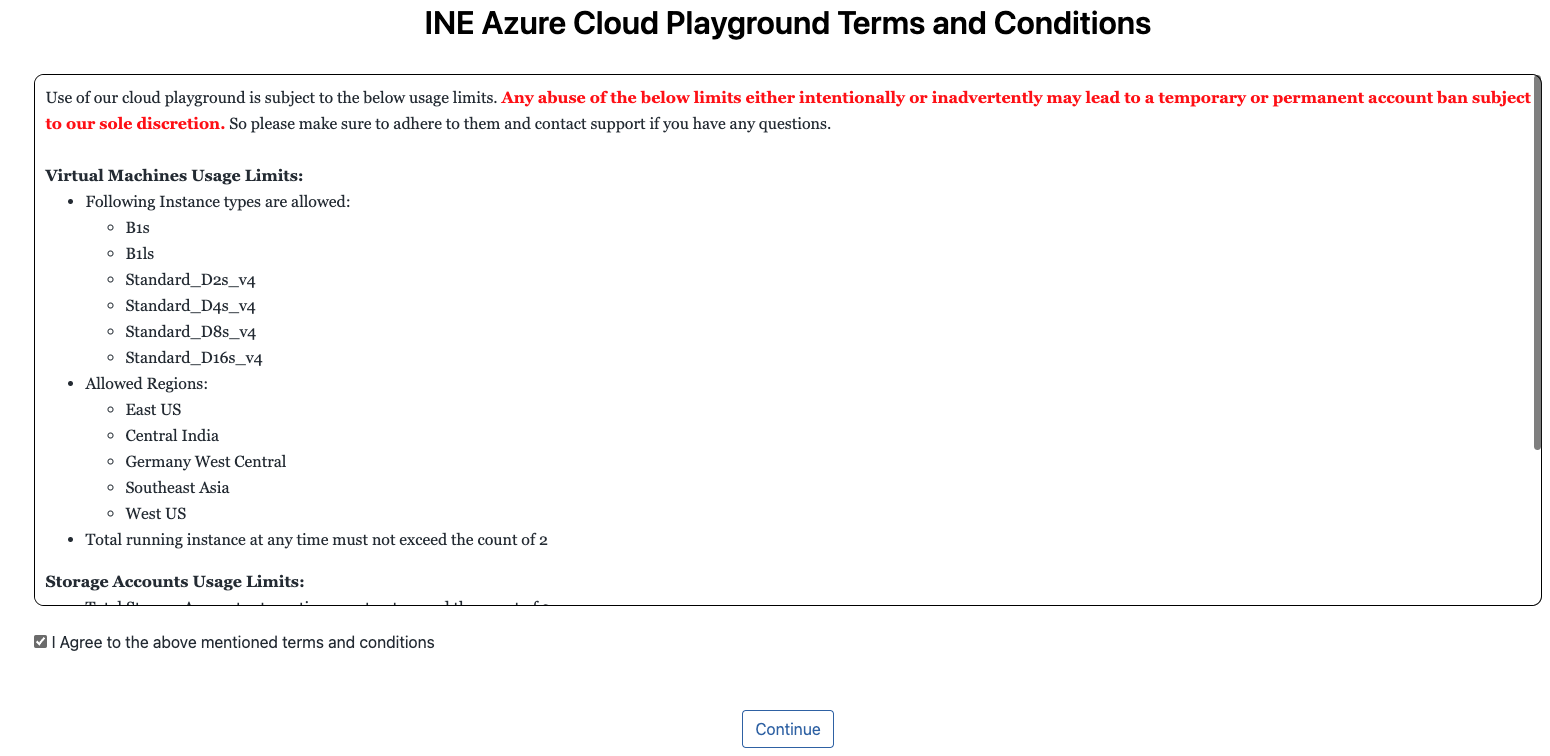
- Choose the Start lab button and then choose Open lab. On the next page, agree to the terms and conditions and then choose Continue.
- You will be presented with access credentials as shown in the following example. Open the Azure Portal Login link in a new private window.
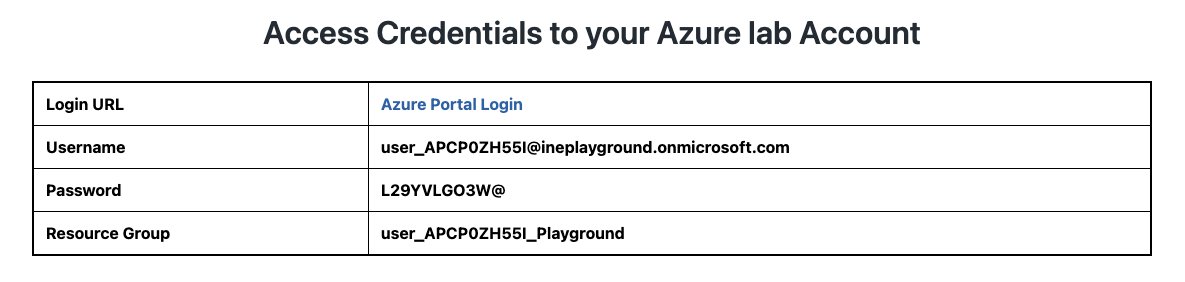
- The URL will take you to the Microsoft Azure sign-in page. Sign in using the Username you were provided with and choose Next.
- Enter the password you were provided with and choose Sign in. If you're prompted to save the password, choose Not Now.
- You will be redirected to your resource group in the Azure portal.
Task 1 Solution: Provision a Storage Account
- Open the Portal menu and select + create a resource.
- Enter Storage account in the service search box and press enter.
- Select the Storage account card.
- Select Create
- Set the following properties on the Basics page.
| Setting | Value |
|---|---|
| Resource group | <your resource group> |
| Name | <a unique name> |
| Region | <your lab region> |
| Performance | Standard |
| Redundancy | Locally-redundant storage (LRS) |
- Select the Next: Advanced > button on the bottom of the page.
- Select the Next: Networking > button on the bottom of the page.
- Select the Next: Data protection > button on the bottom of the page.
- Check the Enable versioning for blobs option.
- Select the Review button at the bottom of the page.
- Select the Create button at the bottom of the page.
- When the provisioning is complete, select the Go to resource button.
Task 2 Solution: Create a lifecycle policy
- From the Storage Account resource menu, select the Lifecycle management link.
- Check the Enable access tracking option.
- Select + Add a rule from the task bar.
- Set the following options on the Details page:
| Setting | Value |
|---|---|
| Name | lab |
| Scope | All blobs (no filter) |
| Blob type | Block blobs |
| Blob subtype | Base blobs, Versions |
- Select the Next button at the bottom of the page.
- In the If section, verify that Last accessed is selected and set the More than (days ago) field to 180.
- Select Move to cool storage in the Then drop down.
- Select the + Add conditions link below the Then drop down.
- Select Created in the new If block and set the More than (days ago) field to 1826.
- Set the new Then drop down to Move to archive storage.
- Select the Next button at the bottom of the page.
- Set the More than (days ago) field to 60.
- Select Delete the blob version from the Then drop down.
- Select the Add button at the bottom of the page.
- Verify that the rule was created.