
Description
Post XSS (Cross-Site Scripting) is a type of web application vulnerability where an attacker can inject malicious scripts into a website's server-side code or database through a form submission or other data input mechanism.
This can occur when a website fails to properly validate user input and allows attackers to inject JavaScript or other code into a page. When other users visit the page, the injected script is executed in their browsers, potentially allowing the attacker to steal sensitive information or perform other malicious actions.
For example, a attacker could create a fake login form on a website and use an XSS vulnerability to steal the login credentials of unsuspecting users who submit their information through the form.
To prevent Post XSS, web developers must properly sanitize user input and validate all data that is received from users before it is processed or displayed on a webpage.
Lab Environment
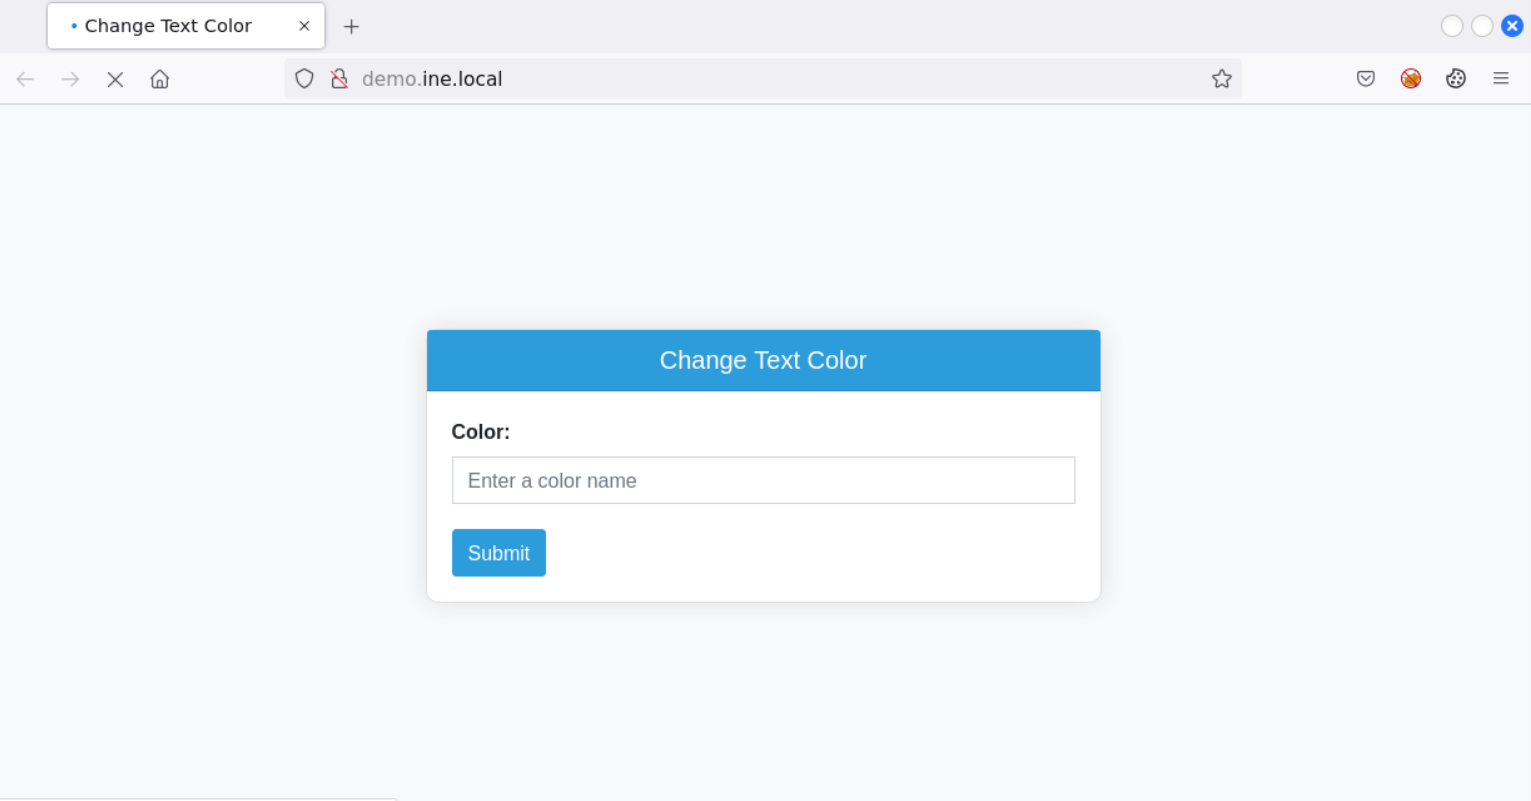
In this lab environment, you will be provided with the GUI access to a Kali machine and a code-server. A Flask web application named Change Text Color is accessible at http://demo.ine.local. This application is vulnerable to Post Cross-Site Scripting.
Your task is to fix the Post Cross-Site Scripting vulnerability in the application by making suitable changes to the code.
Objective: Fix the Post Cross-Site Scripting vulnerability in the application.
Below are the tasks that you need to perform:
-
Task 1: Perform the Post Cross-Site Scripting attack.
-
Task 2: Make suitable changes to the code and fix the Post Cross-Site Scripting vulnerability.
Tools
The best tools for this lab are:
- A web browser
- BurpSuite
Solution
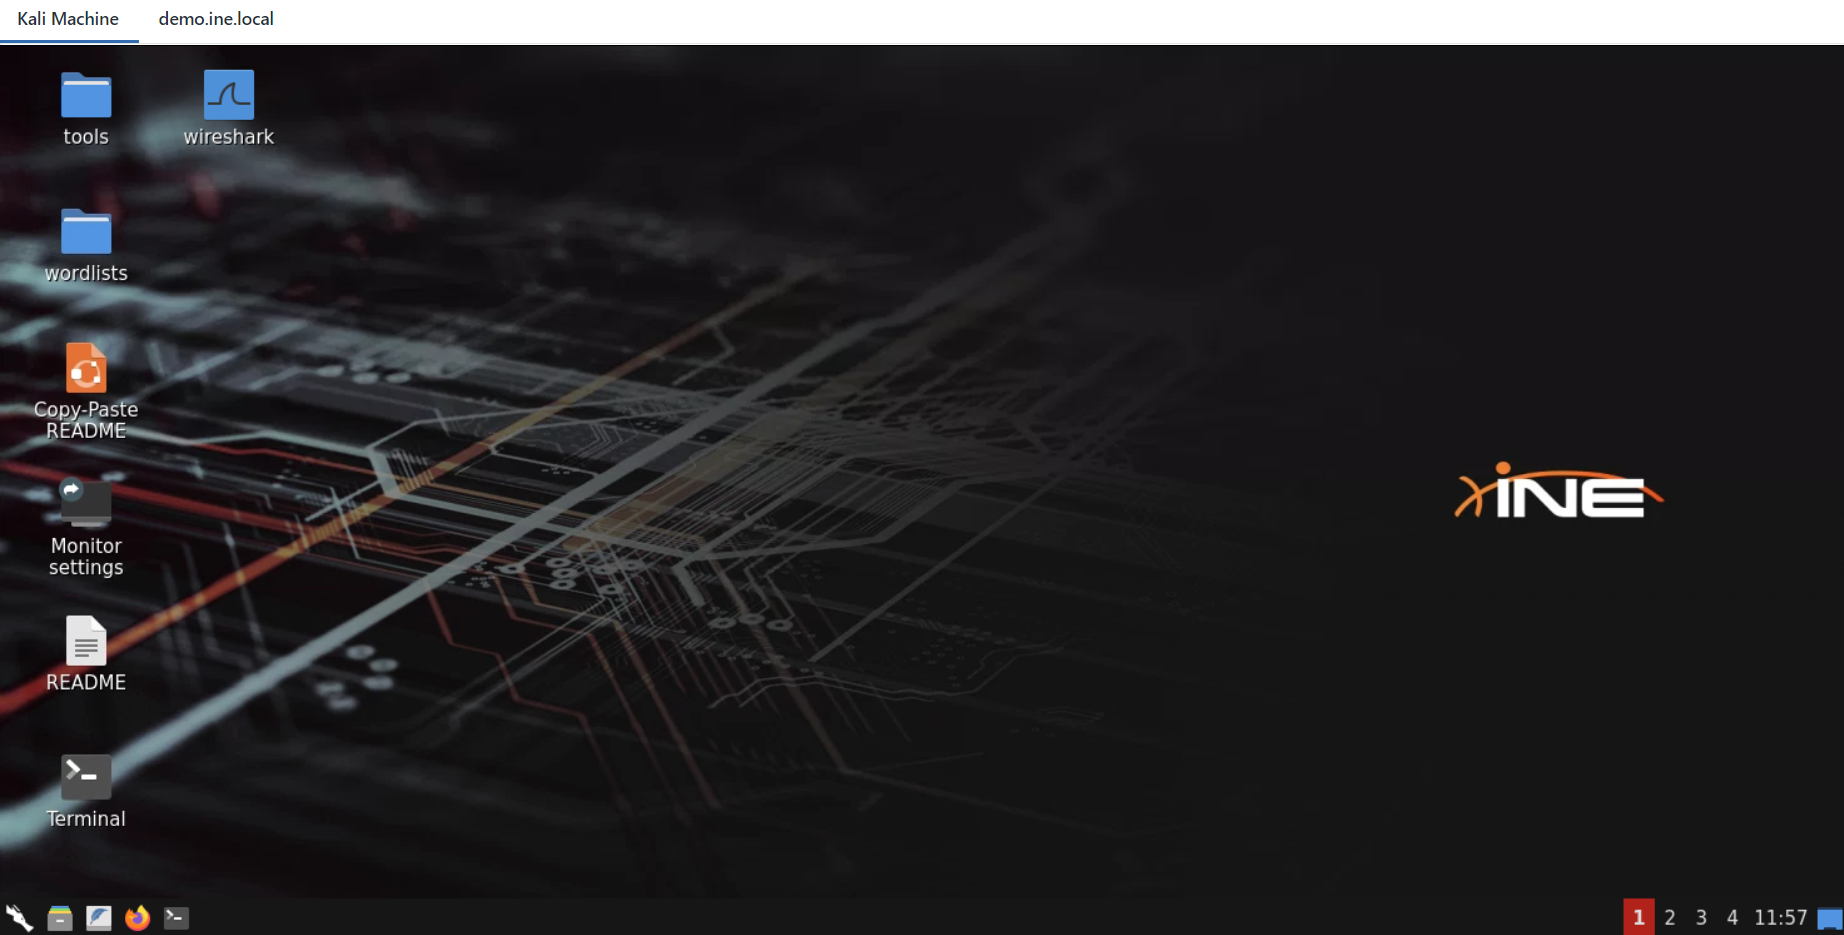
Step 1: Open the lab link to access the following:
Kali machine
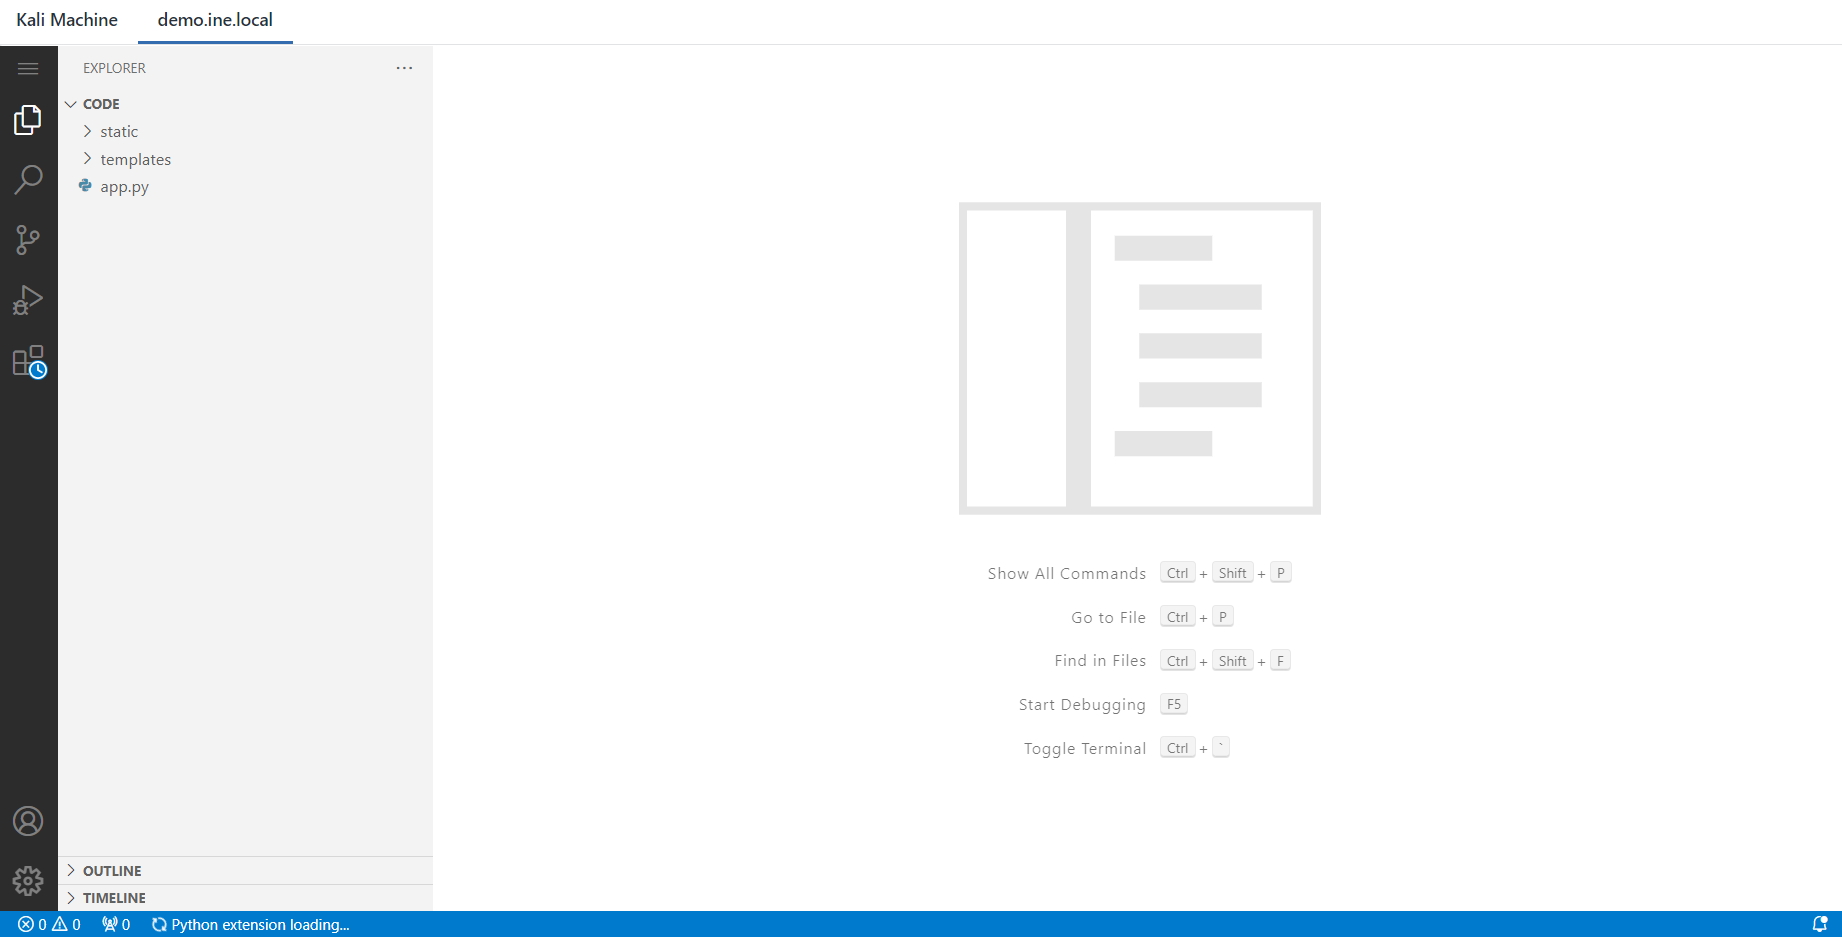
Code-server
Step 2: Use Firefox to browse the Change Text Color application at http://demo.ine.local from the Kali machine.
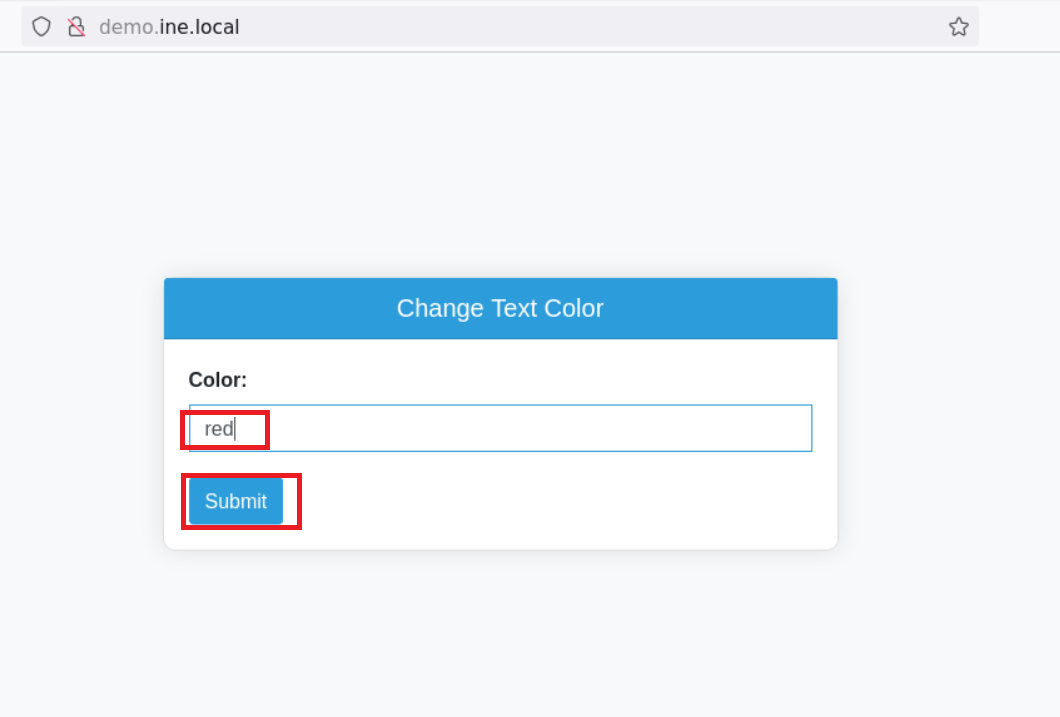
Step 3: When the user enters a valid color name and clicks on the submit button, the programme changes the color of the text to the specified color. Let's give it a go.
Type "red" and click on the "Submit" button.
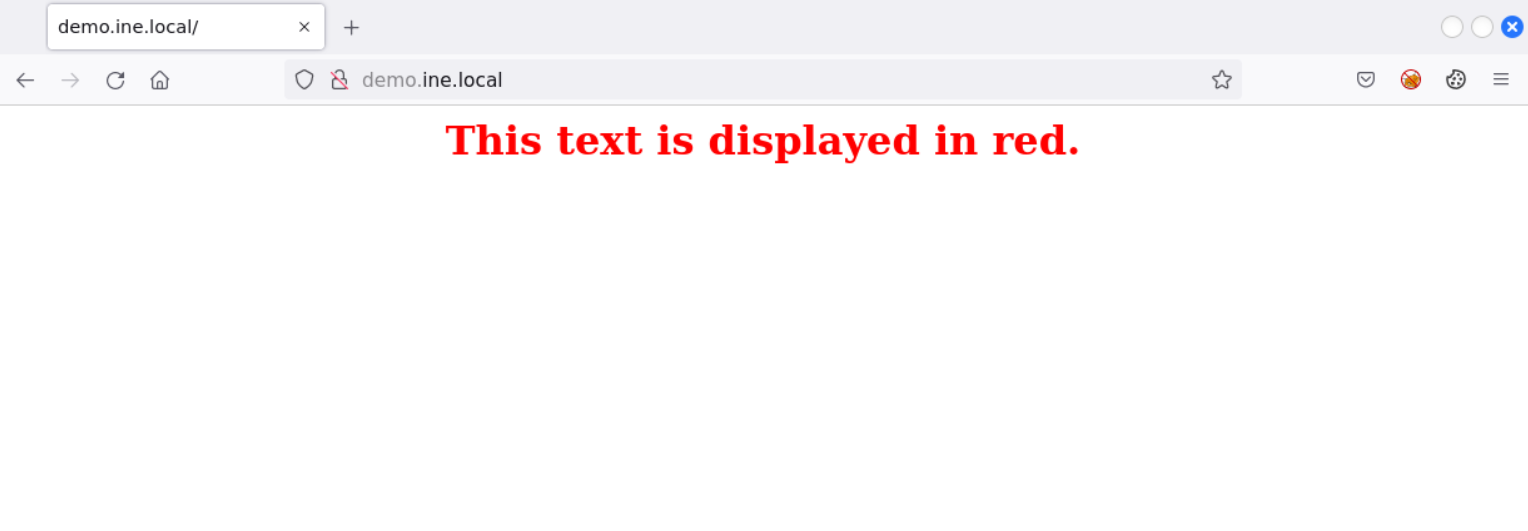
Now you have tested the functionality, let's have a look at the source code of this application.
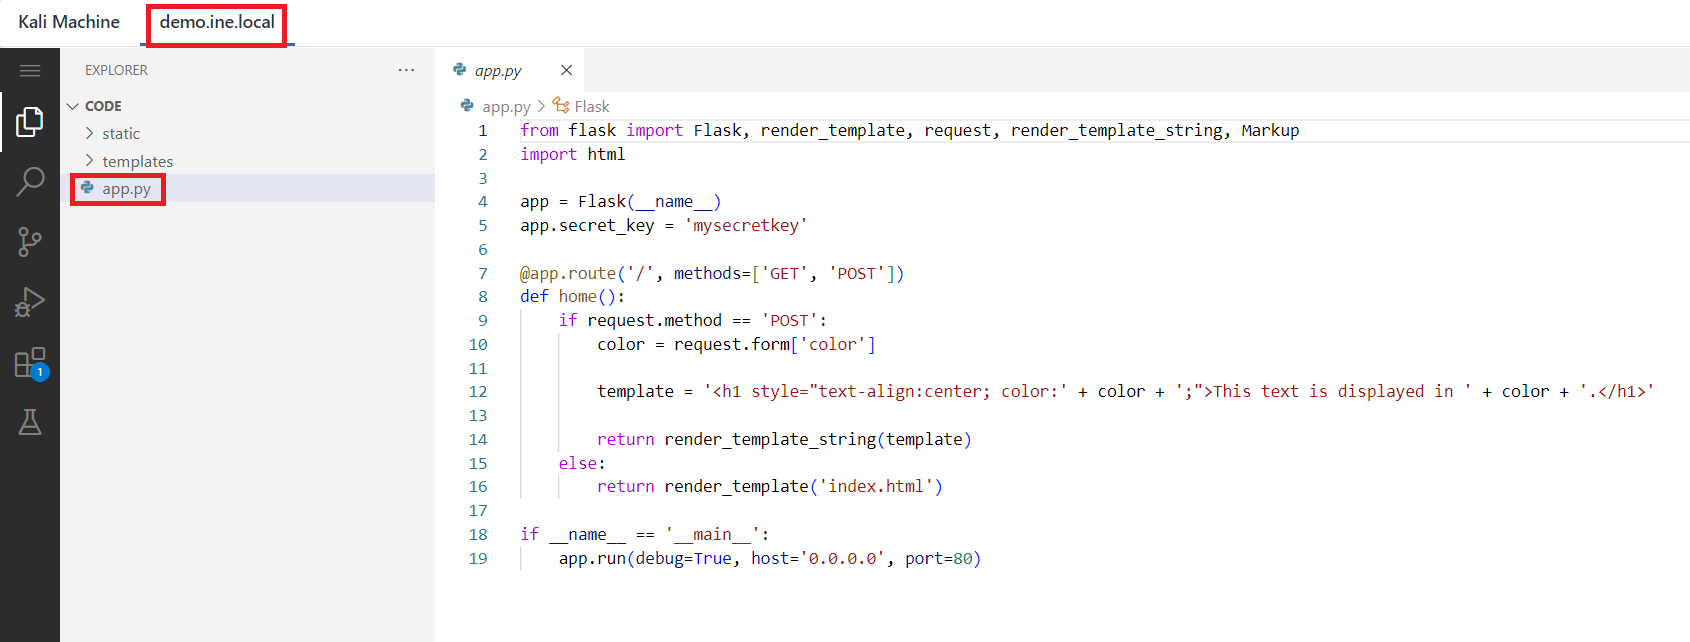
Step 4: Switch to the code-server and open the app.py file.
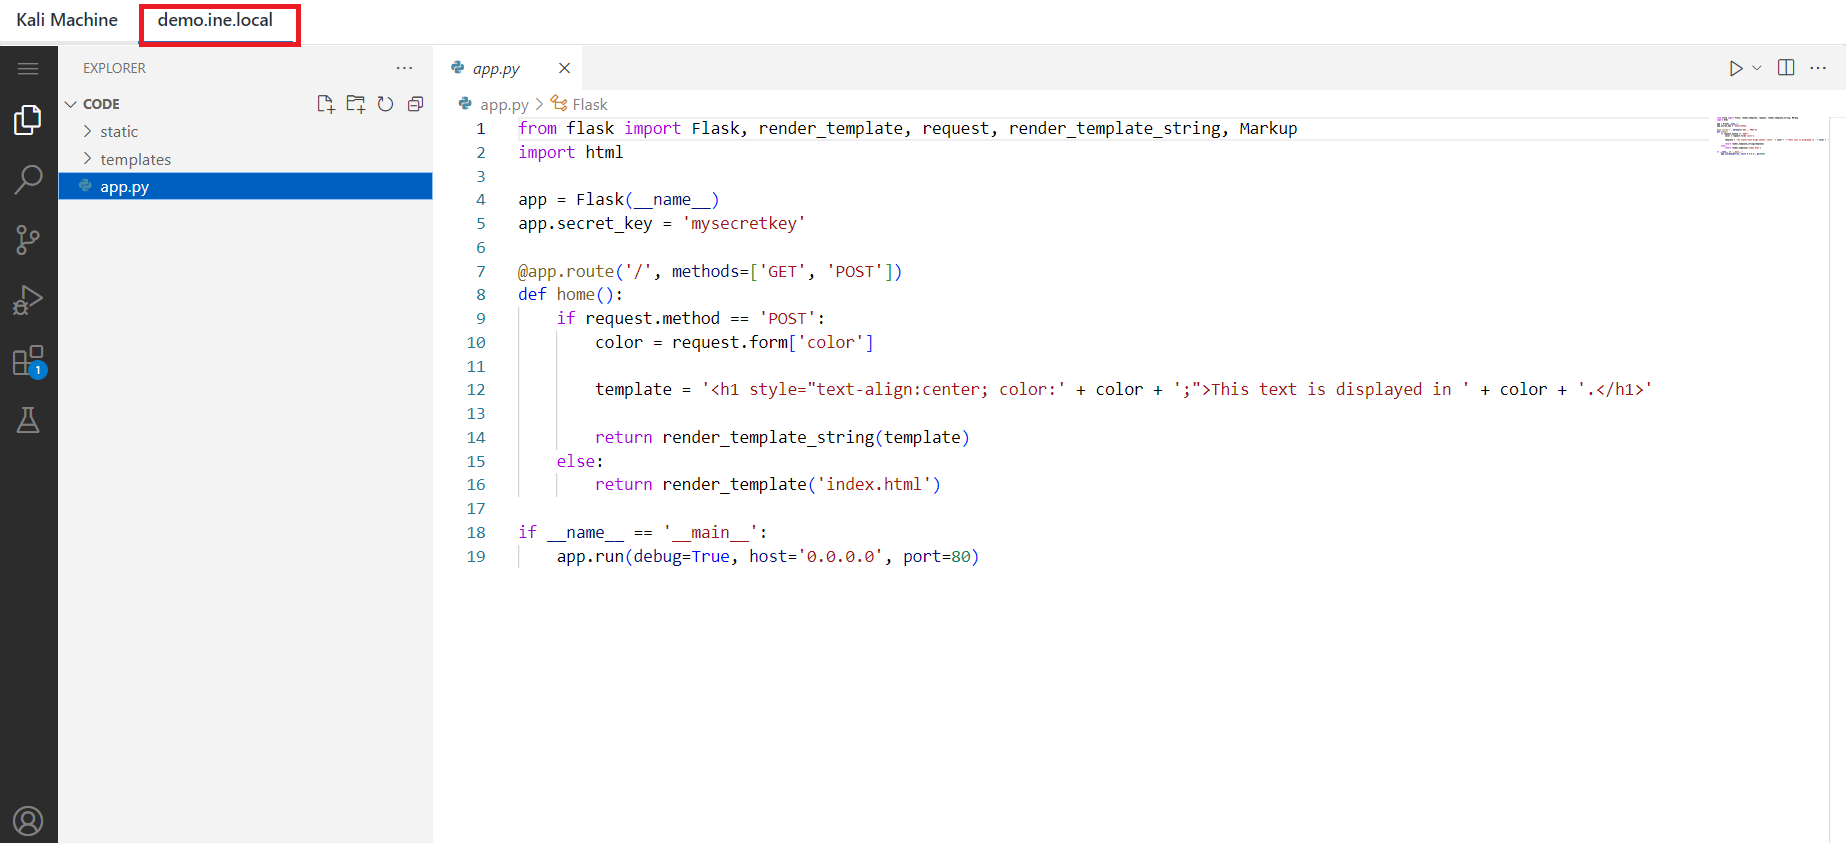
Here's a brief overview of what each part of the code does:
-
The first line imports the necessary Flask modules for creating a web application.
-
The next line imports the
htmlmodule for HTML encoding. -
The
Flask(name)line creates a new Flask application with the name of the current module as the argument. -
The
app.secret_keyline sets a secret key for the application that's used for securely signing cookies and other data. -
The
@app.route('/', methods=['GET', 'POST'])line creates a new route for the root URL of the application that can handle both GET and POST requests. -
The
home()function is the handler for the root URL route. If a POST request is received, it reads thecolorinput from the form and creates an HTML string with a heading styled in the specified color. It then returns this string usingrender_template_string(). If a GET request is received, it renders anindex.htmltemplate usingrender_template(). -
Finally, the if
name == 'main':block runs the application if the module is being run as the main script, setting debug mode to true and running on host0.0.0.0on port80.
Step 5: There are currently no measures in place to prevent Cross-Site Scripting attacks. Let's try to exploit the application.
Go to the web browser and turn on the proxy server.
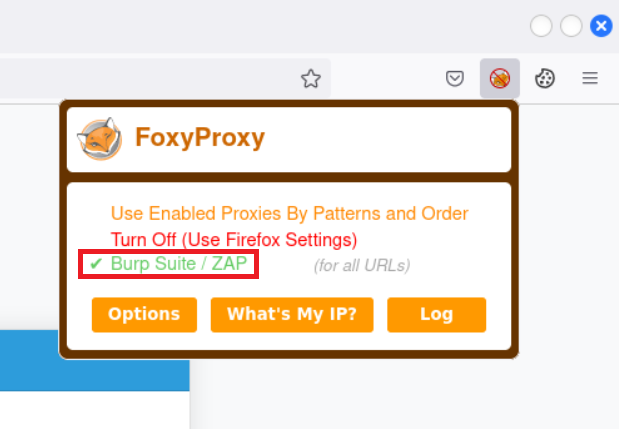
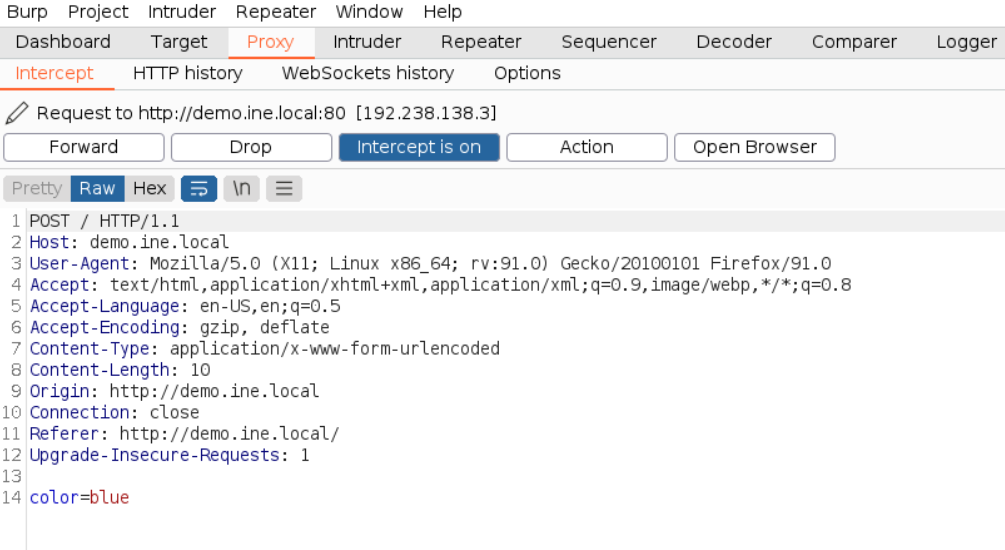
Now, open the BurpSuite and turn on the intercept.
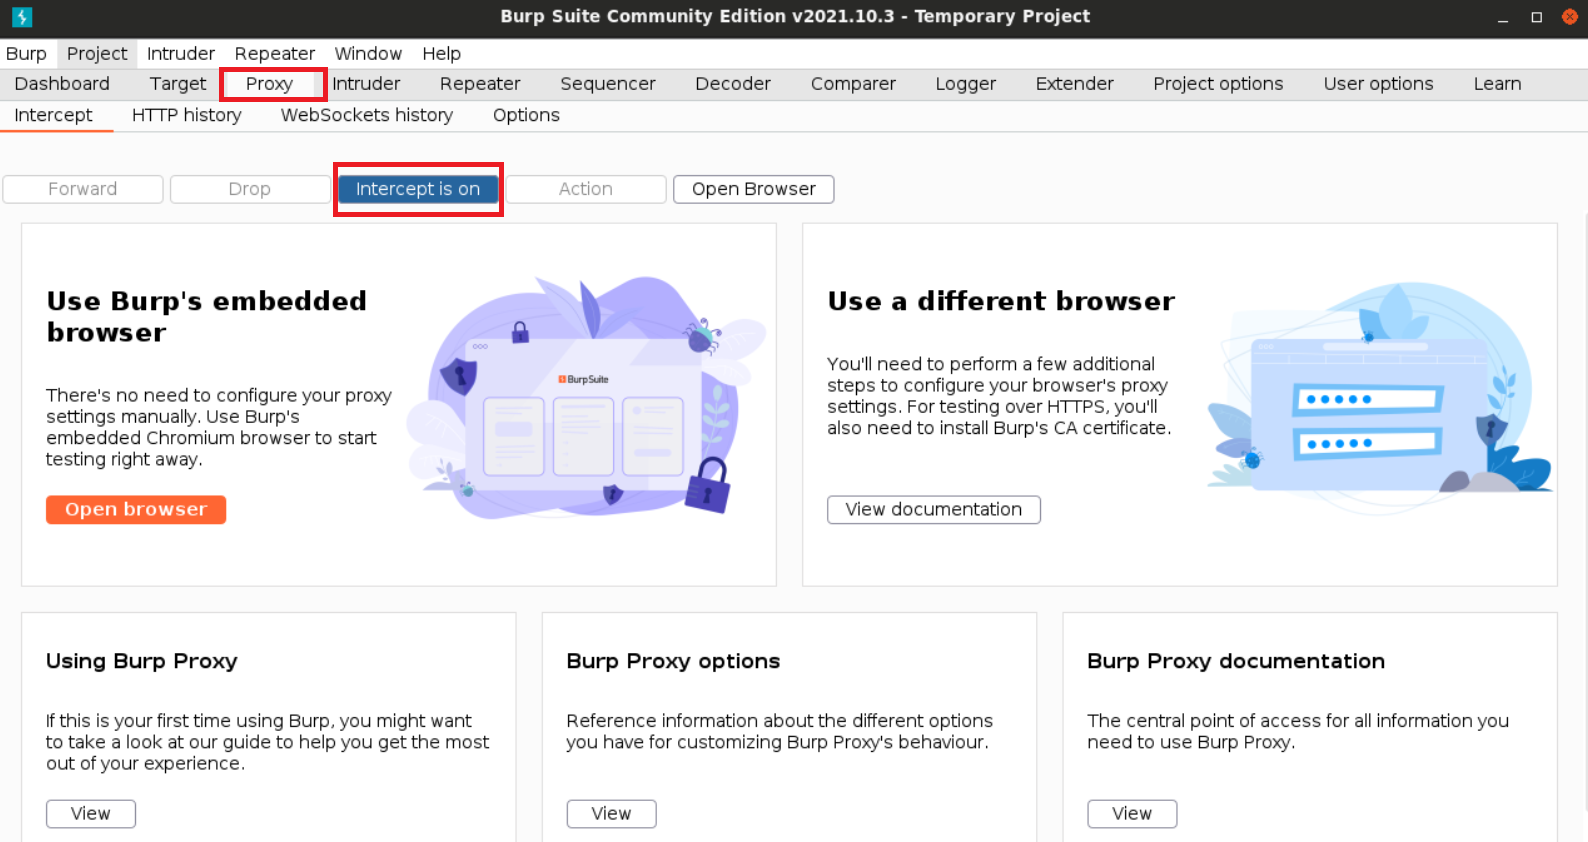
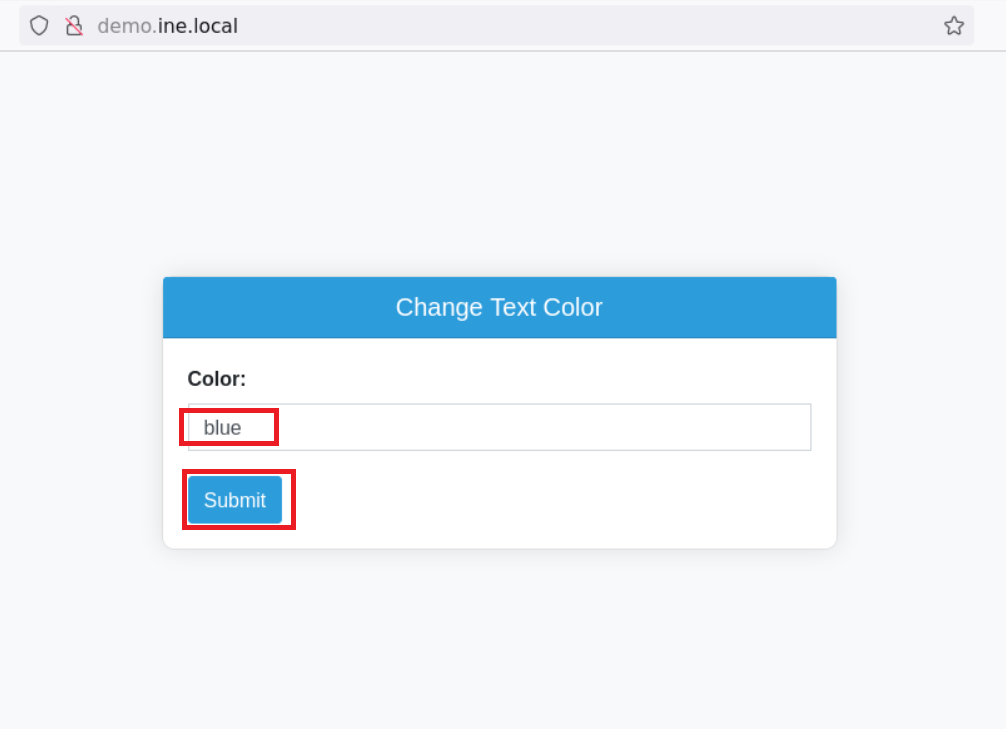
Go to our web application and enter a color name "blue" and click on the submit button.
Now using BurpSuite, edit the captured request.
Replace the color name "blue" with the below given JavaScript Payload.
Payload:
<script>alert("XSS")</script>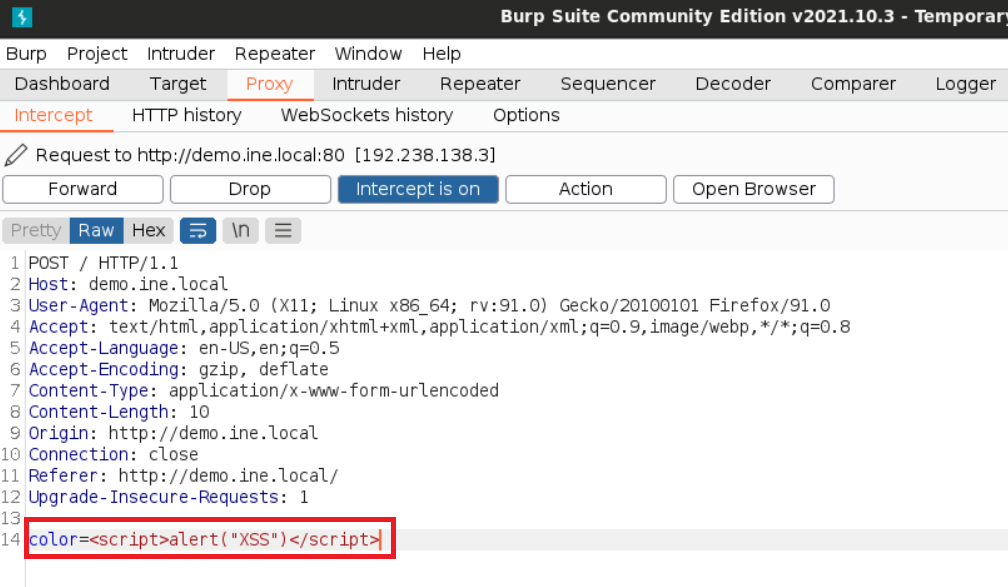
Now, click on "Forward".
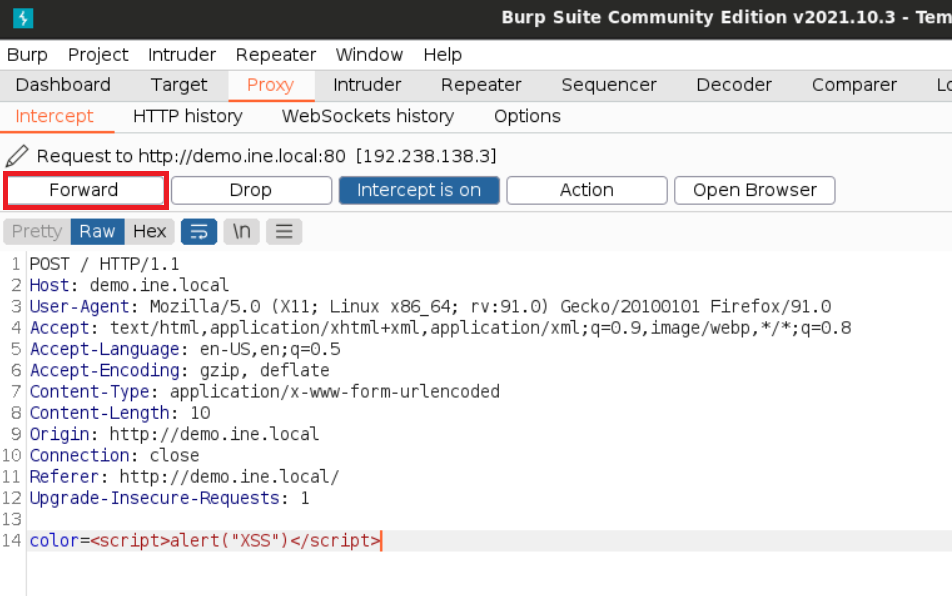
Go to the browser and you will see an alert box.
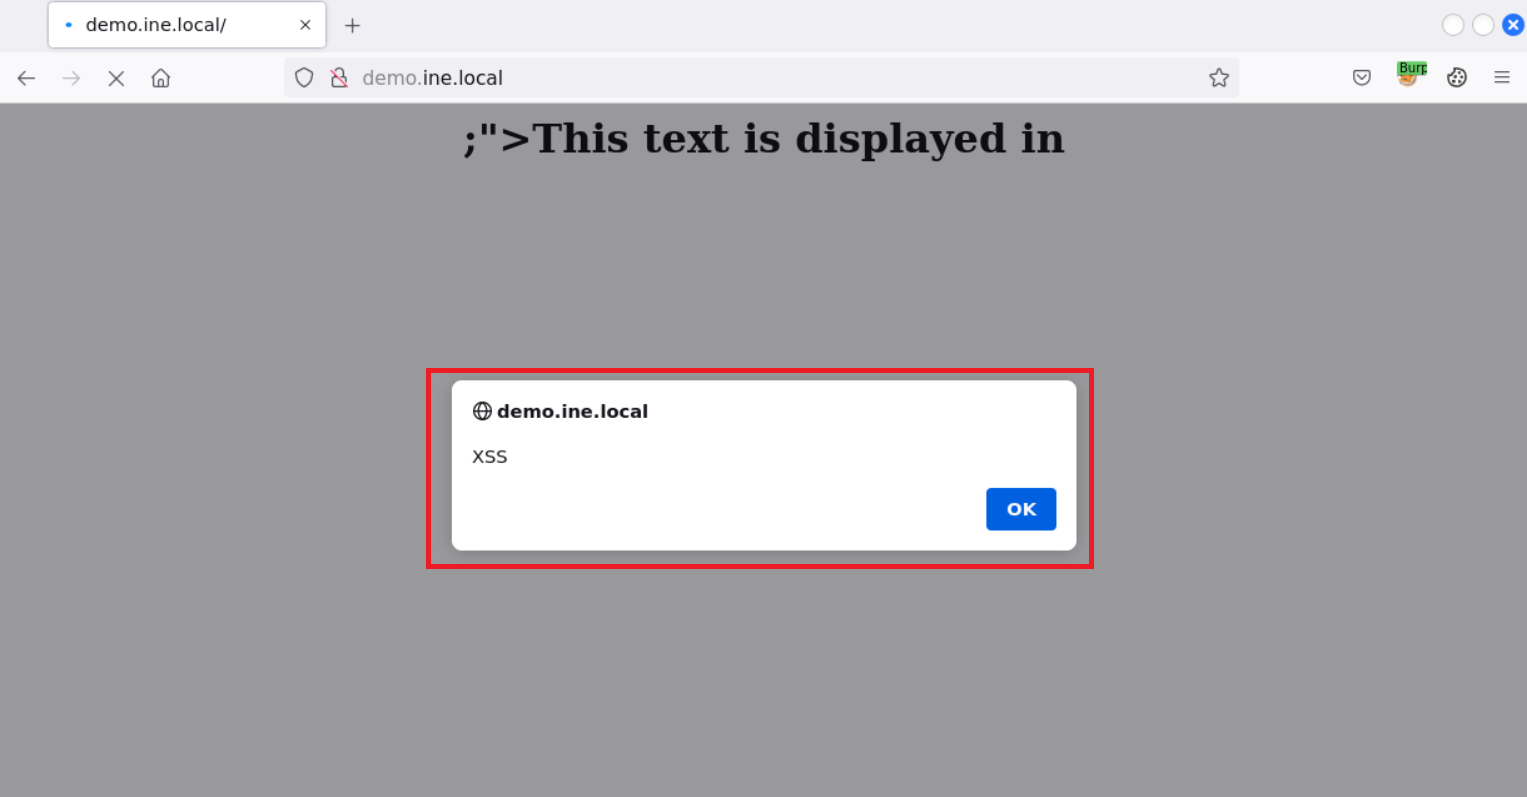
The JavaScript code was successfully executed. We were able to perform Post XSS attack.
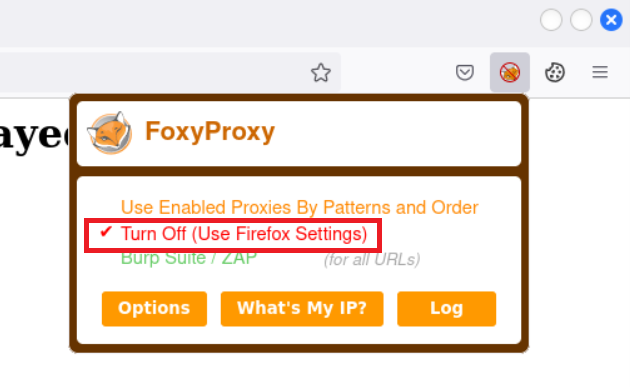
Now, turn off the proxy server.
Step 6: Implement measures to prevent Cross-Site Scripting attacks.
Open the code server and navigate to the "app.py" file.
-
Add the
html.escape()methodCode:
# Sanitize user input before using it in template color = html.escape(color)html.escape()is a method from the html module that is used to escape special characters in a string so that they can be safely displayed as HTML. In this code, the color variable is being passed tohtml.escape()in order to ensure that any special characters in the color value are properly encoded. For example, if the user inputs the color value as,"red<script>alert('xss')</script>", it could be used as a payload for the XSS attacks. By passing this value tohtml.escape(), the resulting value would be"red<script>alert("xss")</script>", which would be safely displayed in the HTML output without executing the malicious script. Overall, usinghtml.escape()is a good practice for preventing security vulnerabilities and ensuring that user input is properly sanitized before being displayed in HTML output.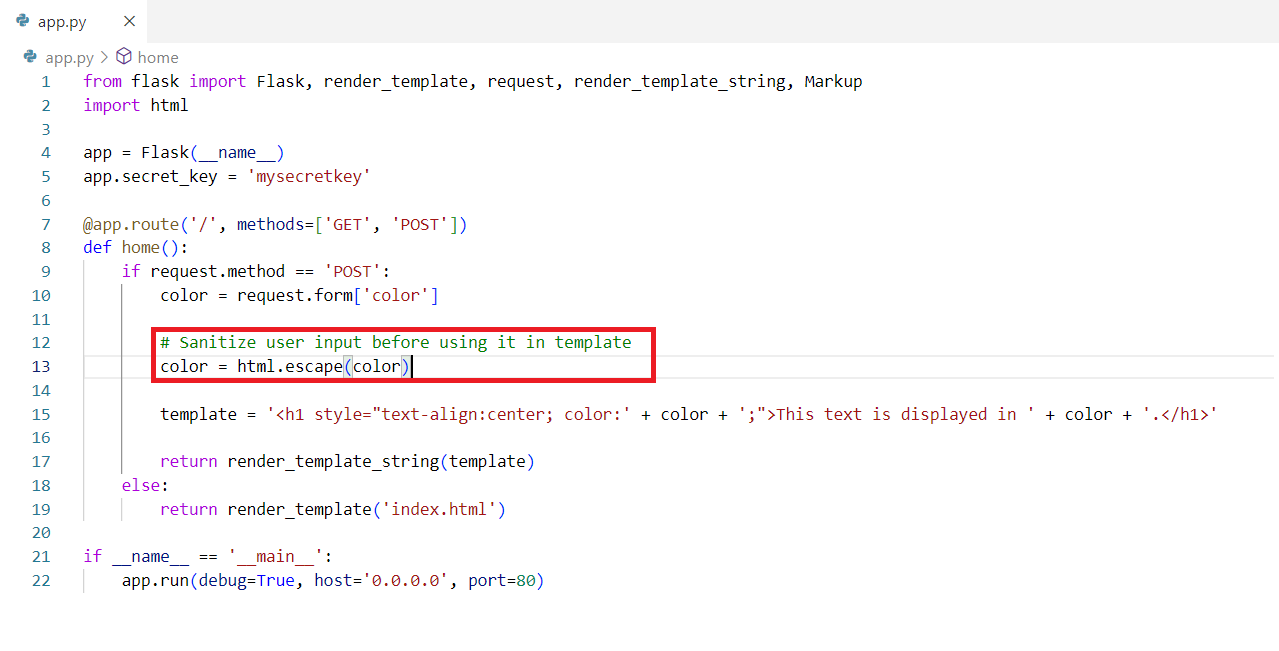 Do not forget to import the
 htmlmodule. (Although it's already been imported for you.) - Change the template format Code:
This line of code defines an HTML template string using Flask's Jinja templating engine. Thetemplate = '<h1 style="text-align:center; color:{{color}};">This text is displayed in {{color}}.</h1>'{{color}}syntax is used to insert the value of thecolorvariable into the HTML output. When the template is rendered, the resulting HTML will have a heading element with thecolorvalue passed in from the form, and a text message indicating that the text is displayed in that color. The use of templates and template variables makes it easy to generate dynamic HTML content based on user input.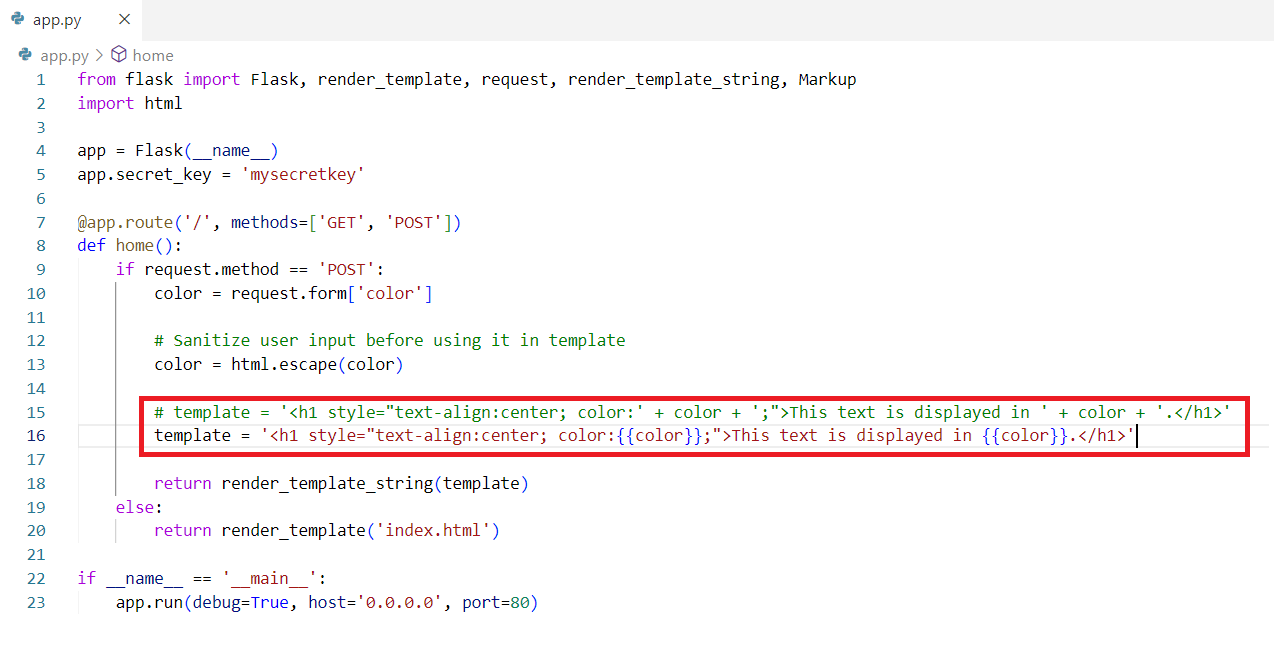 - Now, Use Markup module
Code:
- Now, Use Markup module
Code:
This line of code uses Flask'sreturn render_template_string(template, color = Markup.escape(color))render_template_string()method to render the HTML template defined in the template variable, while also escaping any special characters in thecolorvalue passed in from the form. Thecolor = Markup.escape(color)part of the code escapes any special characters in thecolorvalue using theMarkup.escape()method. This ensures that any potentially malicious content entered by the user is properly encoded and will not be executed as script code or HTML tags when the template is rendered. Therender_template_string()method then renders the HTML template and replaces the{{color}}variable with the escaped value ofcolor. The resulting HTML is sent back to the user's web browser as a response to their request.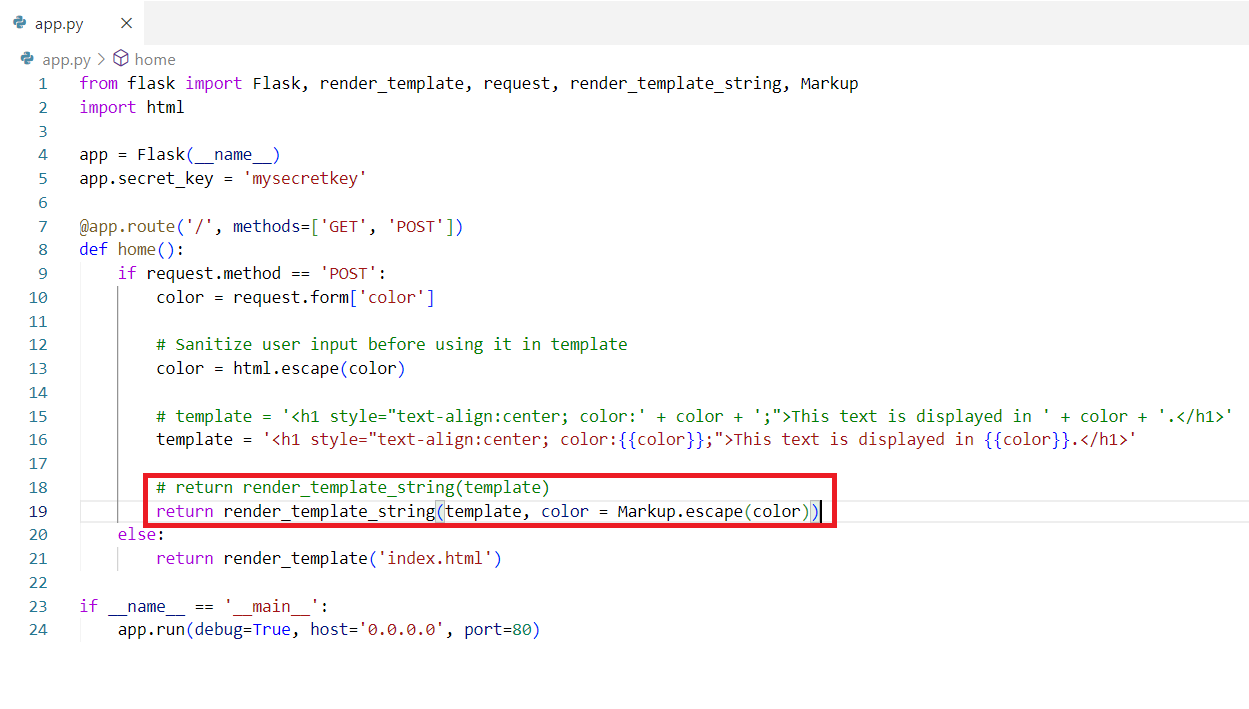 Do not forget to import the
 Markupmodule. (Although it's already been imported for you.) Now save the file. Step 7: Now, quickly try performing the attack as we did above to see if we can perform any attacks or not. Go to the browser and turn on the proxy server.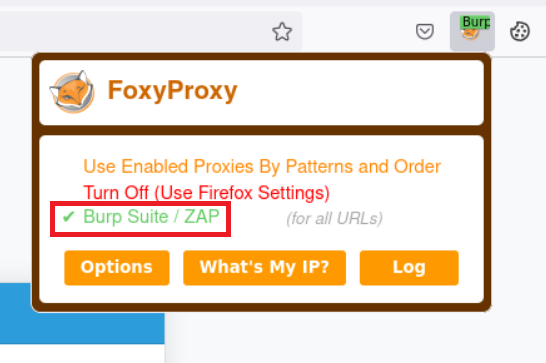 Enter the color name as "yellow" and click on the "Submit" button.
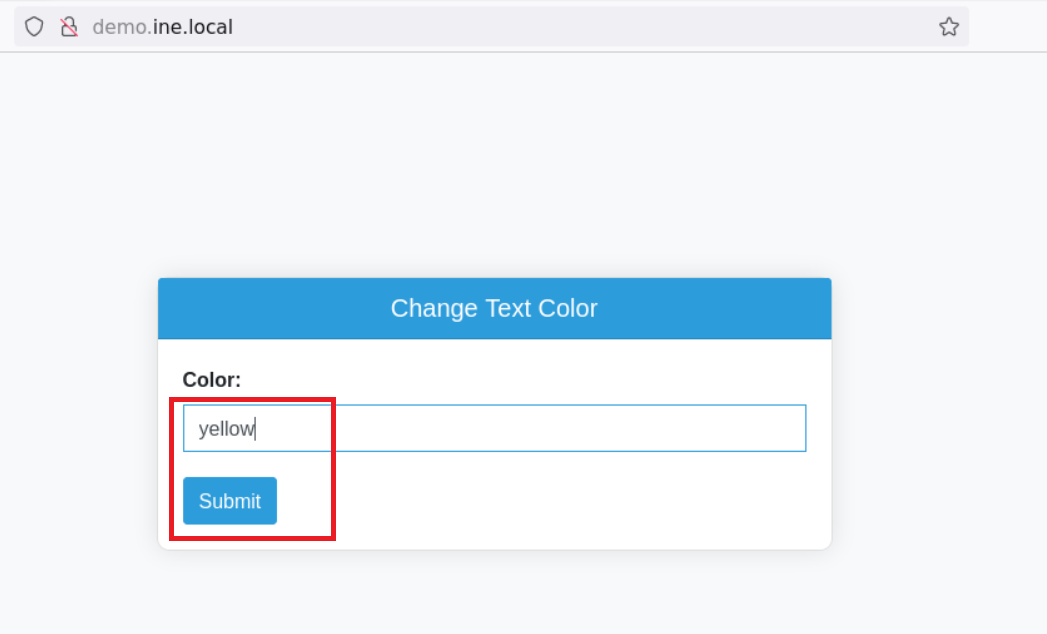 Go to the BurpSuite and edit the captured request; change the color name with the below-mentioned payload.
Payload:
Go to the BurpSuite and edit the captured request; change the color name with the below-mentioned payload.
Payload:
<script>alert("XSS")</script>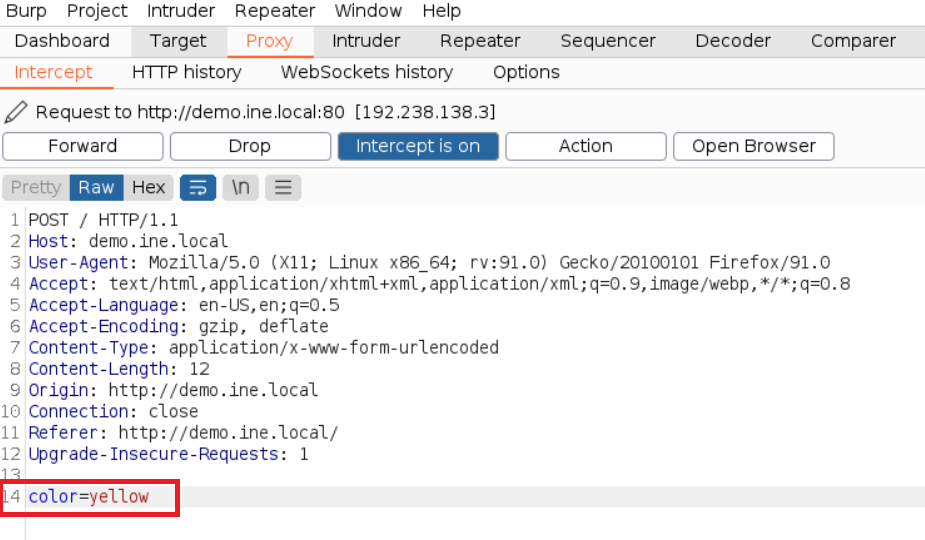
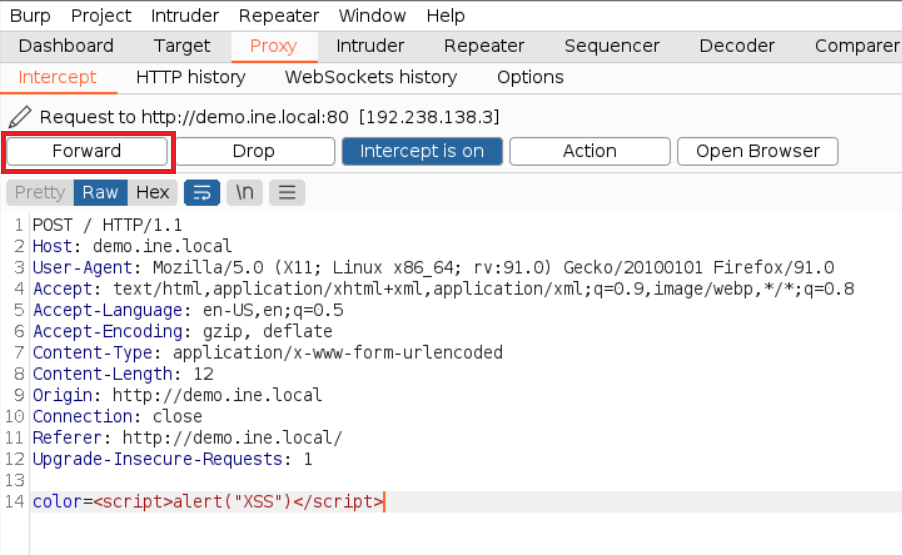
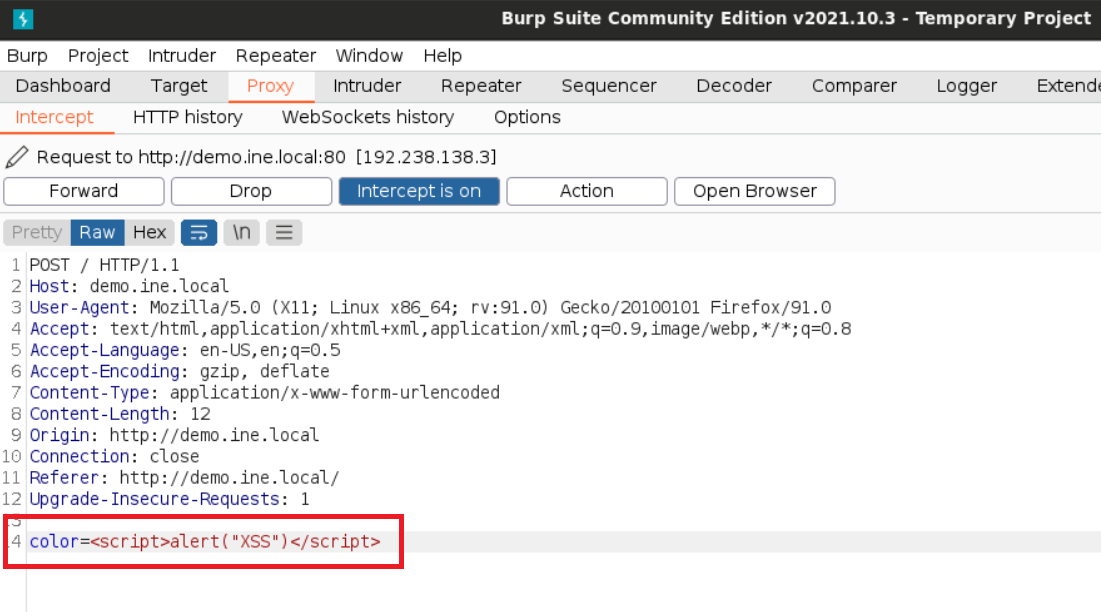 Now, click on "Forward".
 Now, open the web browser to see the result.
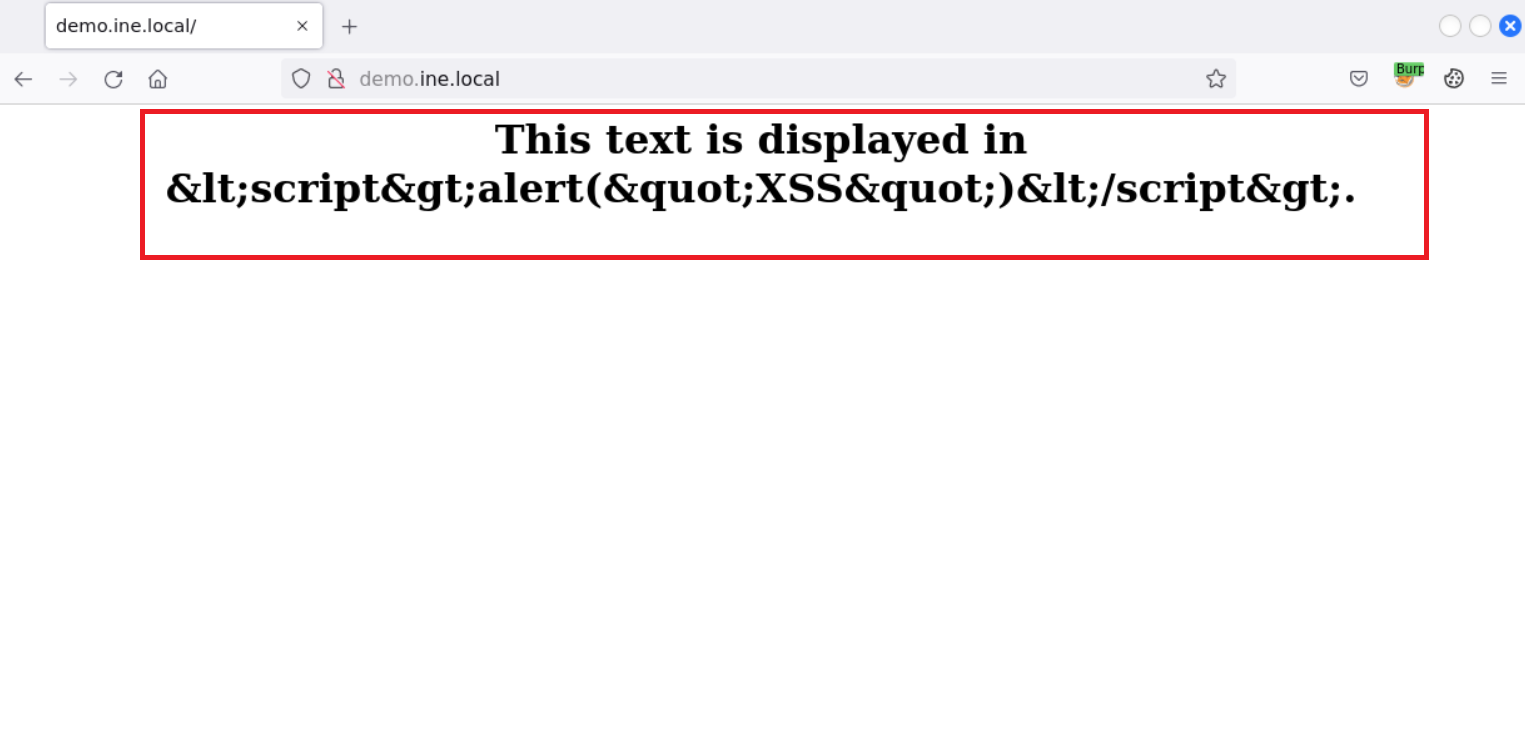 This time the JavaScript code didn't get executed, and we successfully stopped the XSS attack.
Conclusion
In this lab, we learned about a possible approach to mitigate the Cross-Site Scripting vulnerability in the web application and also saw the possible ways in which attackers can exploit the vulnerable system.